1. Data Collection
Collect motion capture data:
- Before recording data, ensure the software has loaded the configuration file. This can be done through the "File - Load Calibration File" option, or a new configuration file can be generated through calibration.
- Attach reflective markers to the captured object and place it in the field.
- Enter the name of the data file to be collected in the "File Box" below the software interface, avoiding Chinese characters or special symbols. After confirming, click Enter (10.1.1).
.png)
10.1.1
- After entering the data collection file name, click the red record button below to start collecting data. During data collection, the 3D view will flash a "RECORD" prompt at the top, and red boxes will appear at the corners of the view, indicating that recording is in progress. (10.1.2)
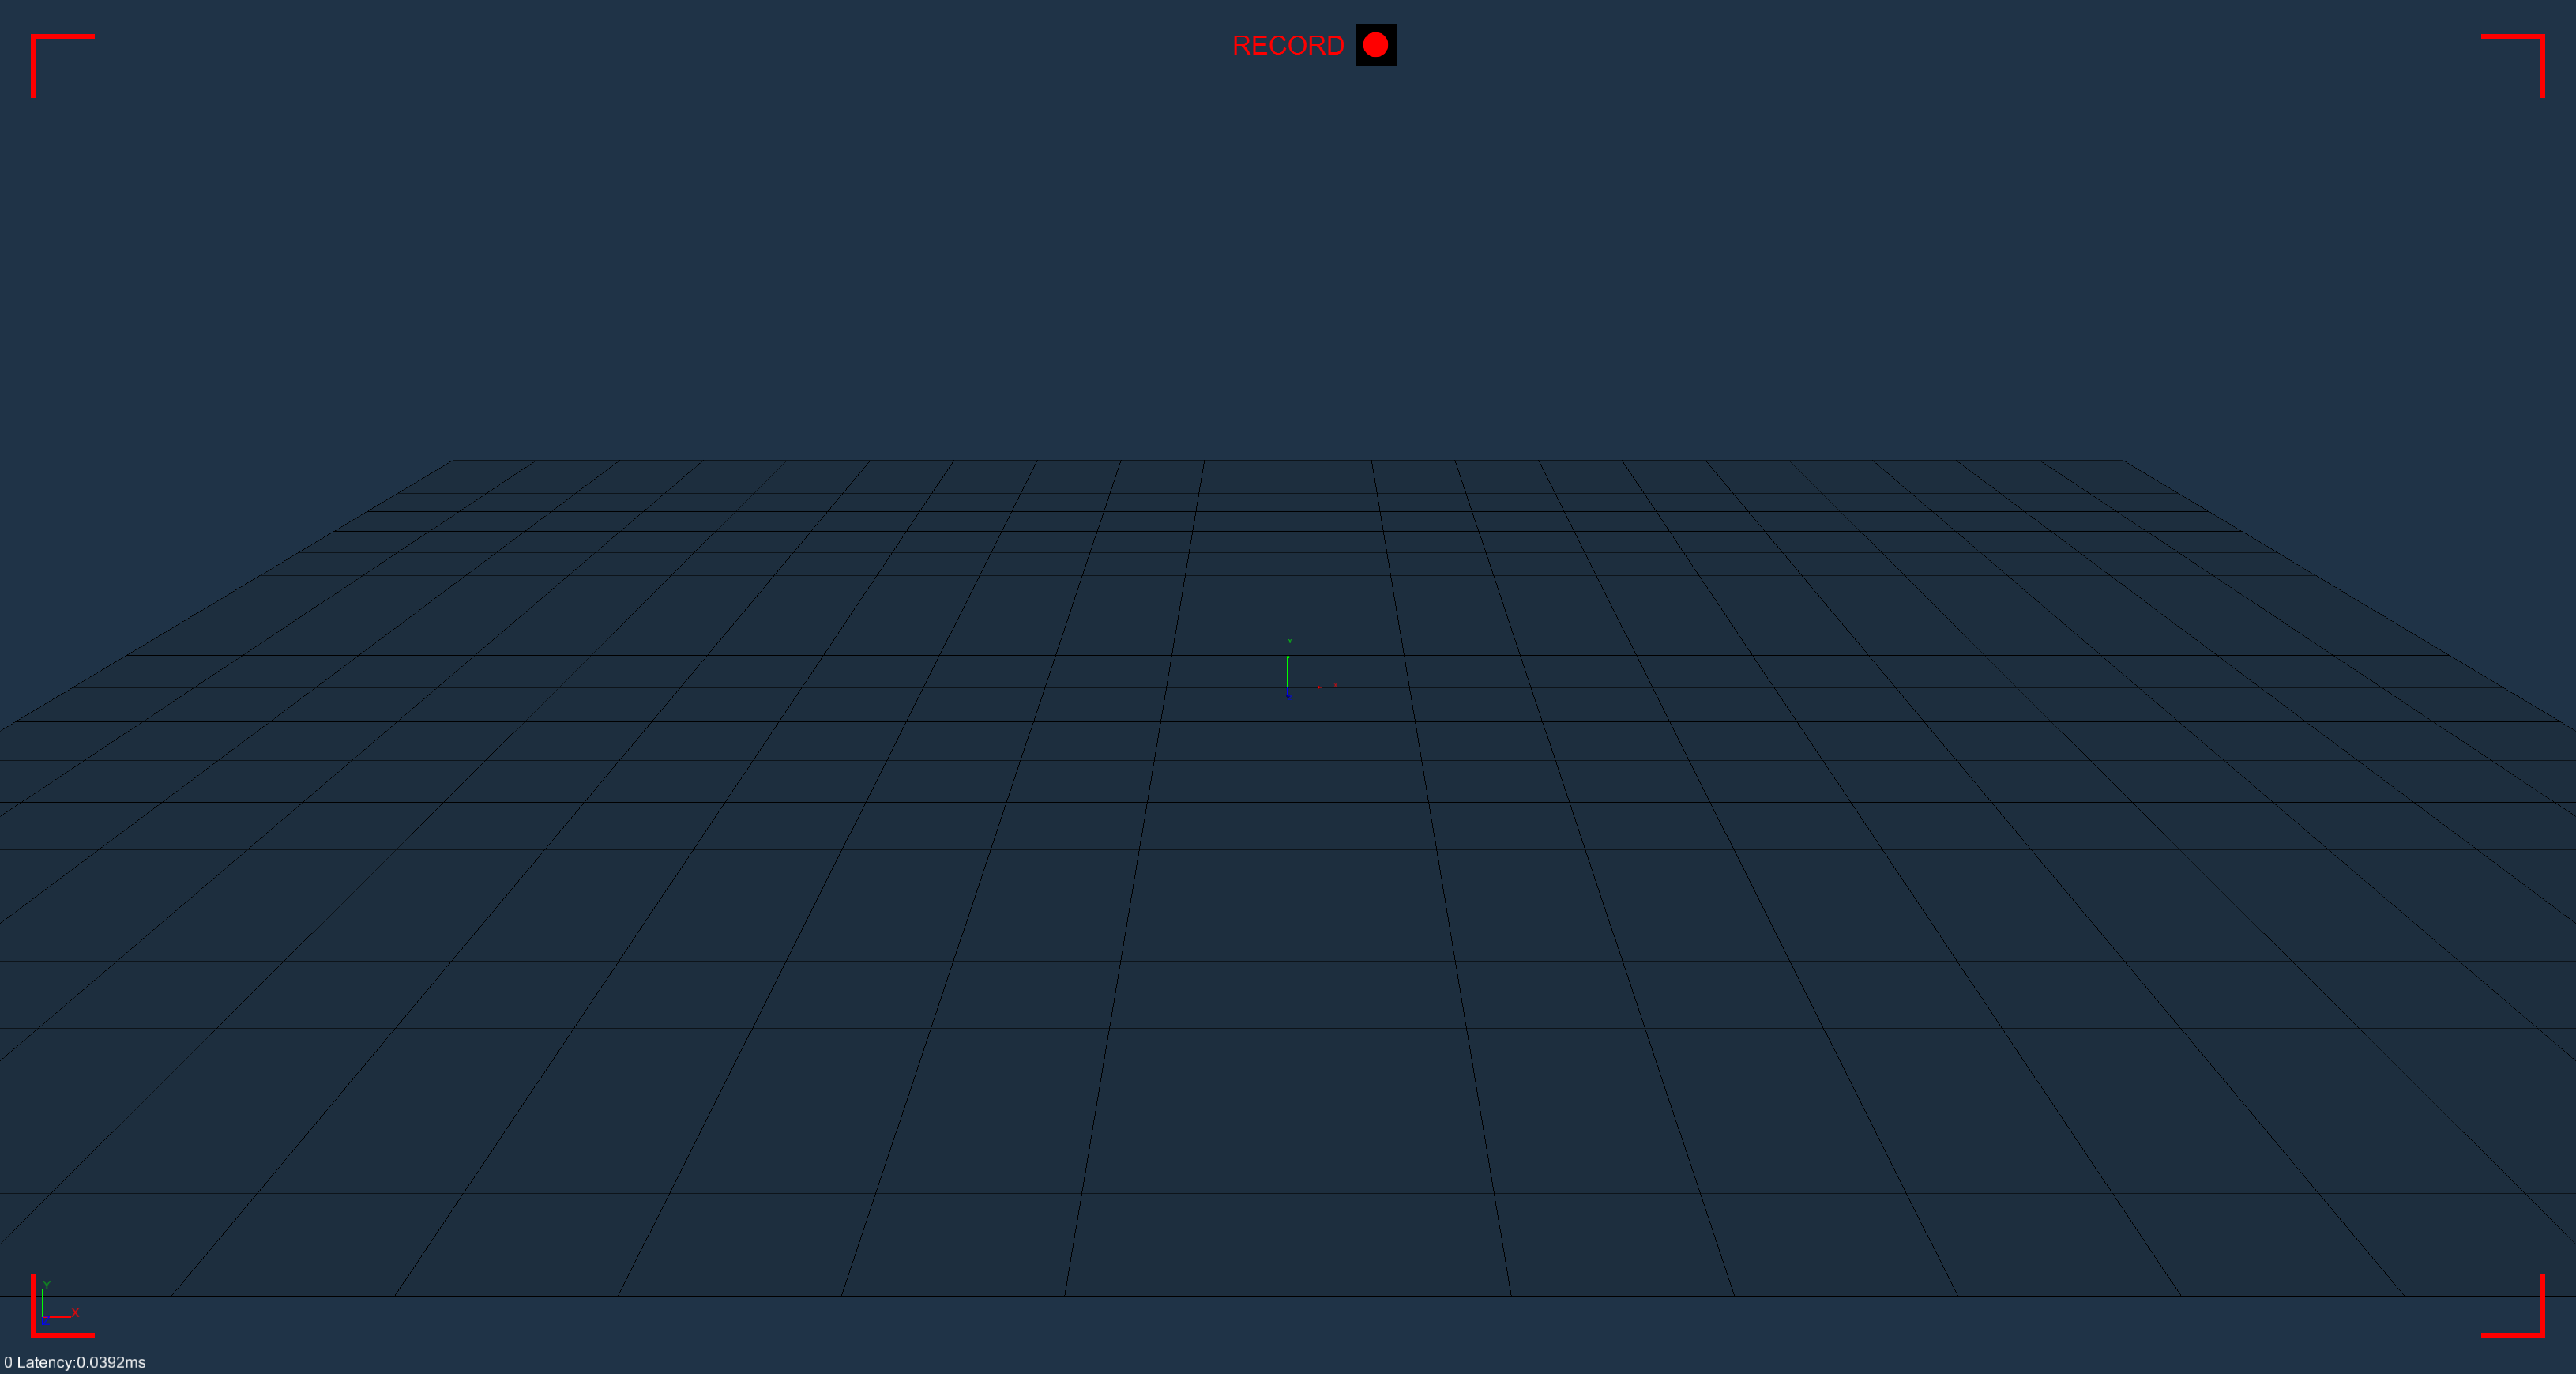
10.1.2
- Click the record button again to stop recording. A pop-up window will appear, indicating that the data collection has been completed. (10.1.3)
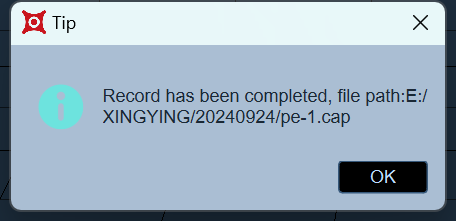
10.1.3
- After recording a set of data, the number on the right side of the "File" input box will change to 2, indicating that it is about to record the second set of data with that file name. With the file name unchanged, the number will gradually increase after each set of data is recorded (10.1.4, 10.1.5);
.png)
10.1.4
.png)
10.1.5
- If there are problems recording the second set of data, or for other reasons, you want to re-record that set of data, change the number to 2. Then, click the "Overwrite" button on the left and click the recording button to re-record (10.1.6). You can also do the same for other sets of data.
.png)
10.1.6
- When recording, XINGYING will check to see if there are calibration files in the current recording directory. If there are no calibration files in the current recording directory, the last loaded calibration file will be automatically copied to the current recording directory.
Collect motion capture data with reference videos:
- Connect an ordinary USB camera to the computer and open the reference video view in the software, then the image seen by the USB camera can be displayed.
- Before recording motion capture data with reference videos, please first determine the video format for recording. The default video format is “.mp3”, and you can also choose the “.avi” format.
- Check the checkbox in front of "Reference Video" below the 3D view, enter the name of the recording file, click Record. Next, the content in the 3D view and the picture in the reference video view will be recorded into the data together. Click the Stop Recording button to stop recording.
.png)
- The motion capture data recorded with the reference video can be loaded and played back in the post - processing mode. If you need to view the recorded video footage, you can open the reference video view to watch.
Record audio for the reference video:
- The reference video supports audio recording. First, you need to connect a USB camera device that supports audio input to your computer.
- Open the software settings - recording settings, select the name of the USB camera device that supports audio input in "Audio Input", and turn on the "Audio Recording" switch;
.png)
- Check the checkbox in front of "Reference Video" below the 3D view, enter the name of the recording file, click Record. Next, the content in the 3D view, along with the images and sounds in the reference video view, will be recorded into the data. Click the Stop Recording button to stop recording.
- Load the recorded data in post - processing mode, open the reference video, click play, and then you can play the recorded reference video images and the recorded sounds.