FLIR Industrial Camera
- Install FLIR Industrial Camera Software
- Insert the FLIR camera, open the SpinView program, click on Refresh, select the device number, click on Play, then pause playback.
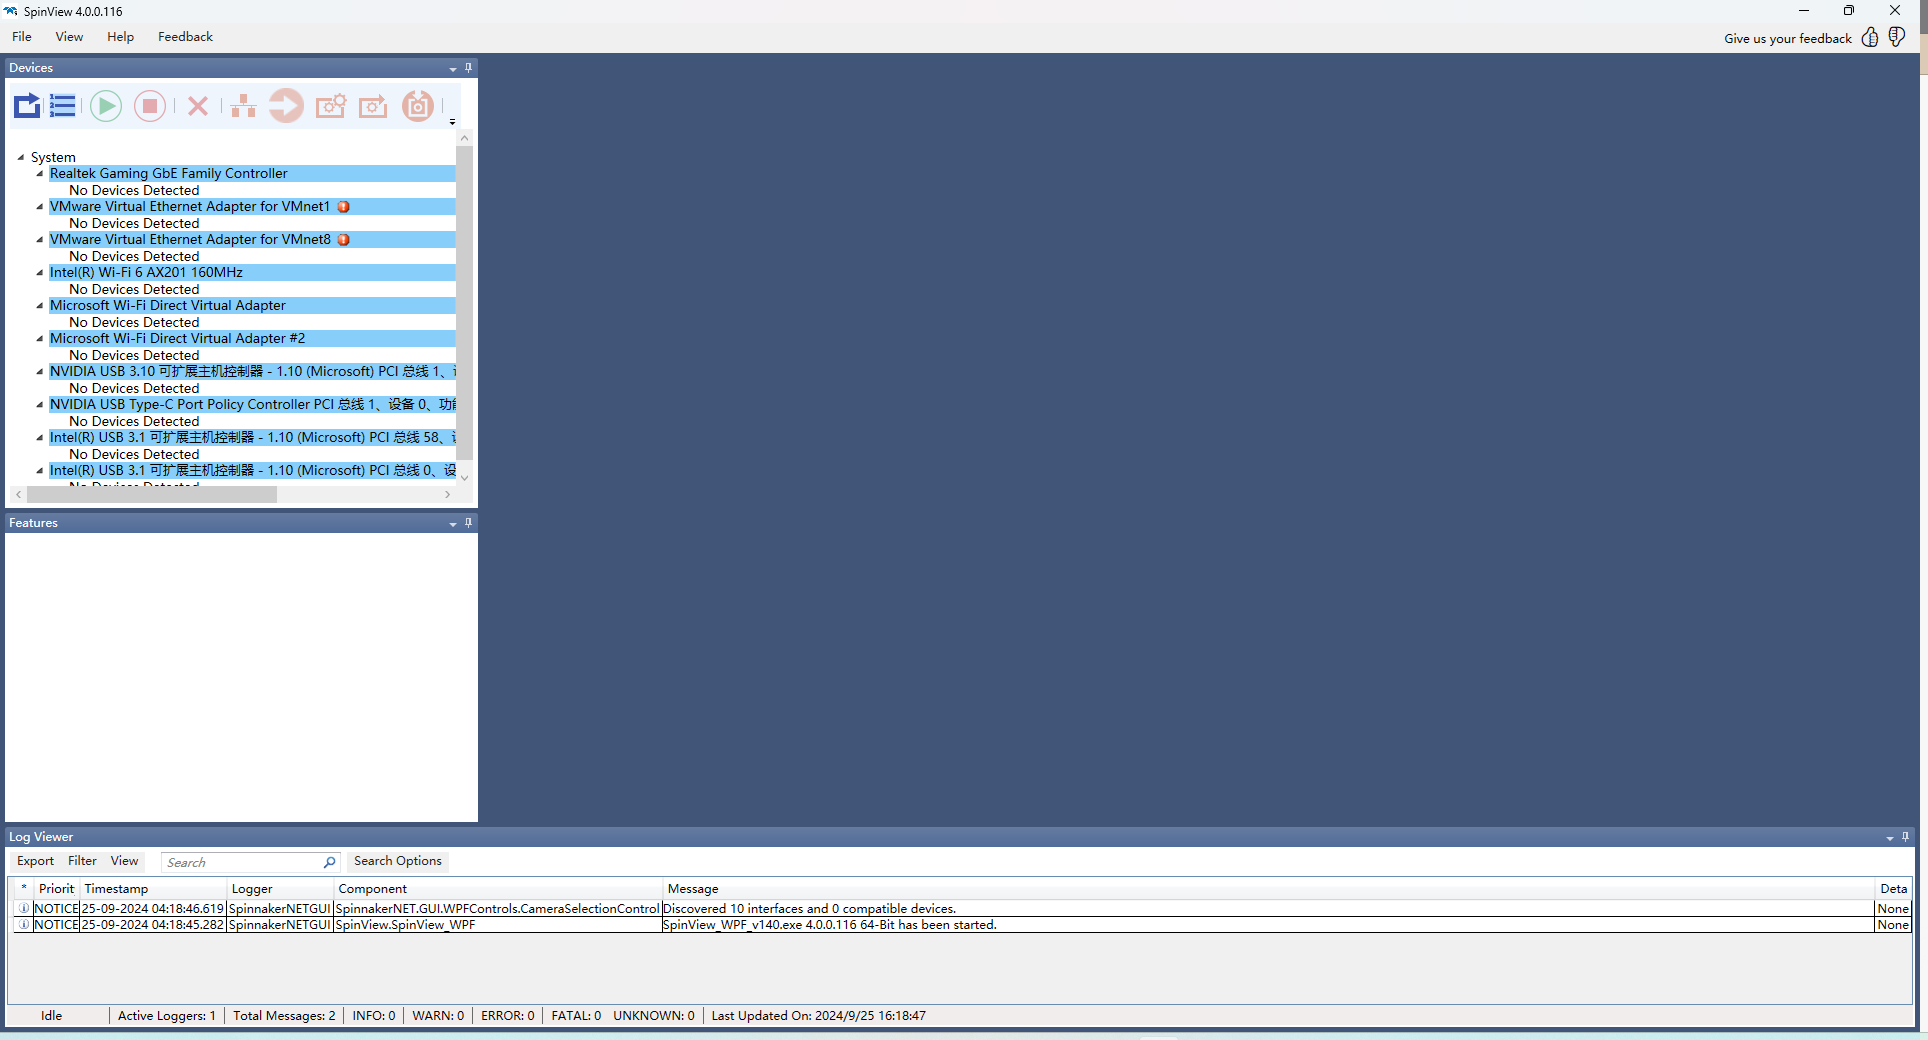
- Open the XINGYING software, connect the lens, and play. Click on the reference video.
Synchronization of FLIR Industrial Camera with Software
- Connect the sync cable using the connector head, and insert it into the FLIR camera.
.png)
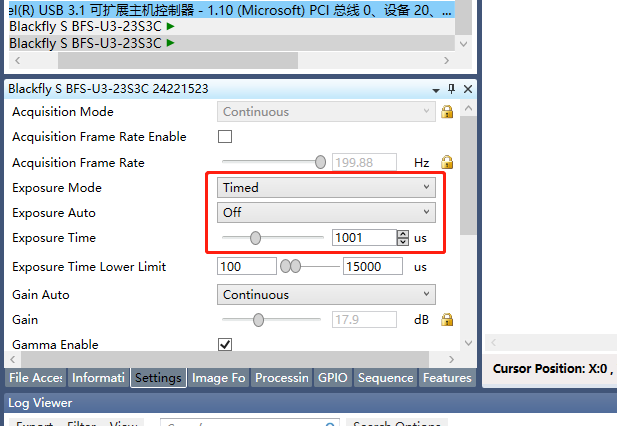
- Open the SpinView program, click on Refresh, select the device number, click on Settings to adjust camera exposure (matching the software), click on Image Format to change the camera resolution to 1280x720, click on GPIO to enable trigger sync, choose Line 0 as the trigger source, and select Rising Edge as the triggering method.
16.1.2
.png)
16.1.13
.png)
16.1.14
- Open the XINGYING software, connect the lens, play the video, and click on the reference video.
FLIR Industrial Camera Synchronization Calibration
- Please first configure the hardware synchronization according to the operational instructions for ‘Synchronizing FLIR Industrial Camera with Software.’
- Open the software settings -- Recording Settings, and enable the 'Video Motion Capture' switch.
.png)
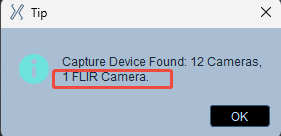
- Click the Connect Lens button, and the software will prompt you with the number of motion capture lenses detected along with the FLIR industrial camera lenses. The device list will also display the industrial camera device. If the 'Video Motion Capture' switch is not enabled, only the optical lens will be connected. You can view the image in the reference video view, but synchronization calibration with the optical lens will not be possible.
.png)
- Open the reference video, and select the industrial camera device from the reference video list on the device panel. The various attributes of the industrial camera will be displayed below. You need to configure these attributes before starting the calibration.
- Set the properties: Type, Pixel Size, Width, and Height should remain at their default values and do not need to be modified; ensure the frame rate matches the frame rate set in the software and enable the frame rate switch; select 'Continuous' for the exposure mode; enable the 'Extract Points' switch so that the FLIR industrial camera will extract 2D points in the 2D view. If this switch is not enabled, 2D points will not be extracted in the 2D view.
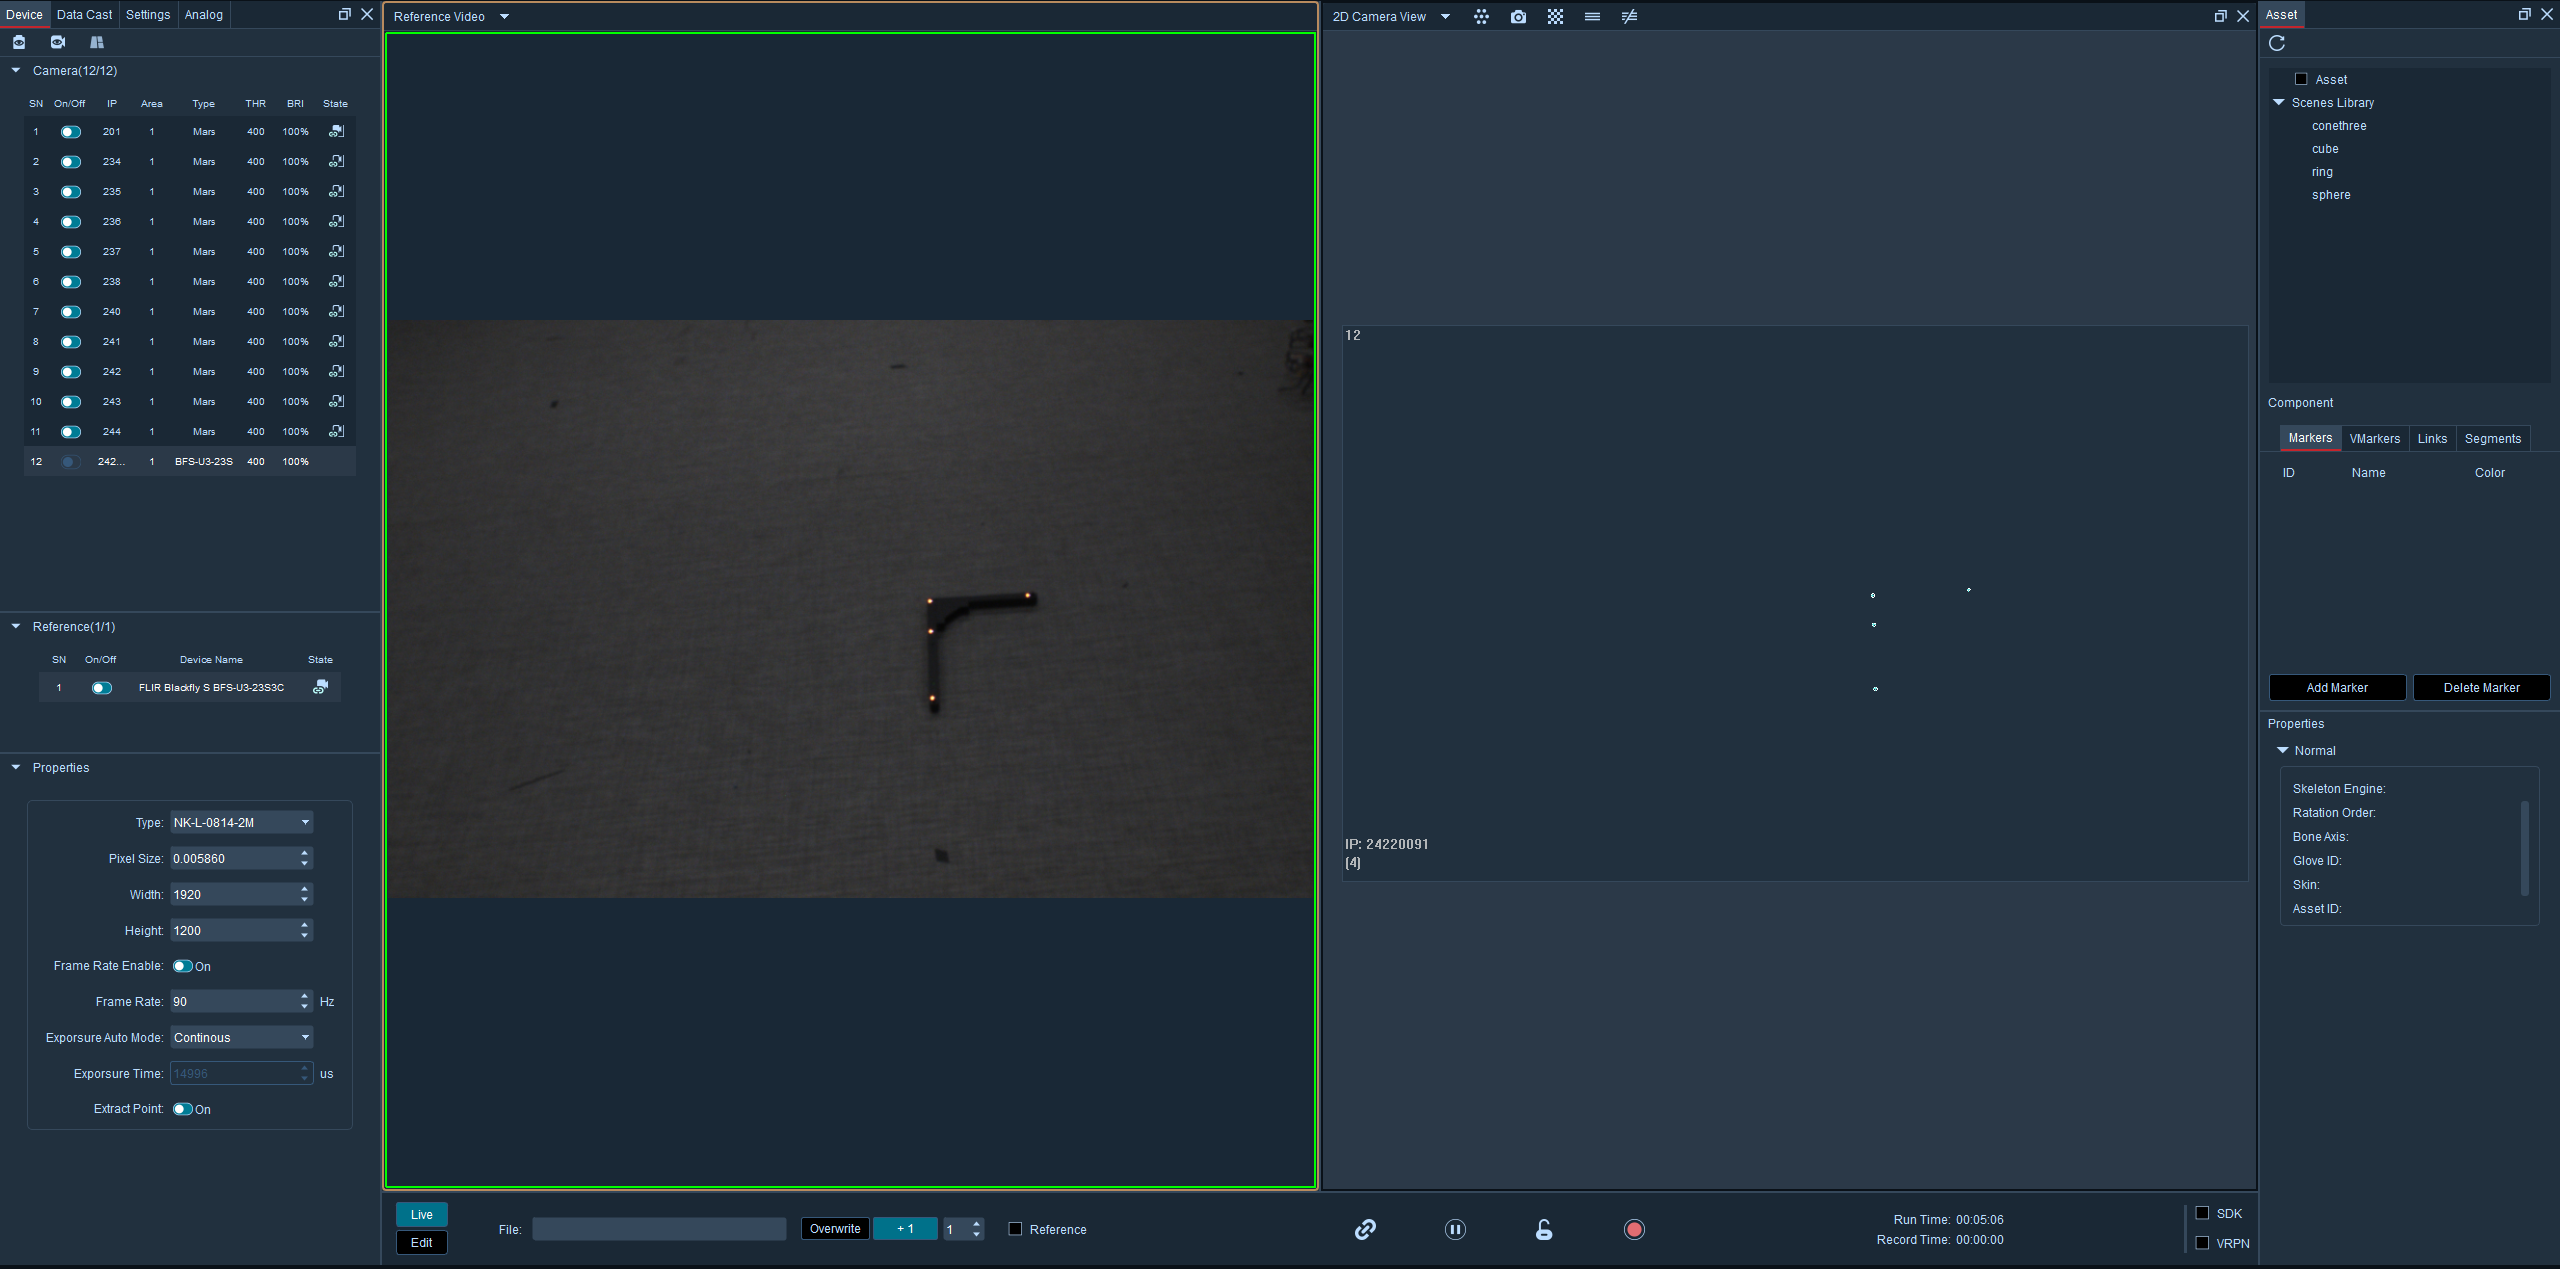
- Perform TL calibration for both the FLIR industrial camera and the motion capture camera. For detailed operating instructions, please refer to 'VIII. Calibration Types (2) T followed by L Calibration.' After the calibration is complete, the position of the FLIR industrial camera will be displayed at the top of the 3D view, and the template from the 3D view will also be overlaid in the reference video view.
warning
The FLIR industrial camera only supports active markers for point extraction and cannot extract 2D points of passive markers in the 2D view.