IOR Body
IORBody(49)
- Create a 49-point IOR human template in real-time mode. Attach the 49 reflective marker points to the model in the correct positions, and you should be able to see each reflective marker point in the 3D view.
- The software must be in playback mode, and the up axis in the 3D view must be the Z-axis. If the axis is incorrect, please set the axis to point up along the Z-axis in the calibration settings.
- The model stands in T-Pose, facing the negative Y-axis, with arms parallel to the X-axis. Click Freeze Frame, right-click in the 3D interface and select ‘Create Human.’ In the ‘Create Human’ window, choose ‘Baseline, IORBody(49)’ from the model dropdown list. Hover the mouse cursor over the marker image and scroll the mouse wheel to view the marker positions from different angles. After confirming that the actual marker placements match the marker image, click the ‘Create’ button, and the human model will be successfully created;
.png)
- At this point, you can unfreeze, and you will see that the ‘IORBody(49)’ human model has been correctly recognized.
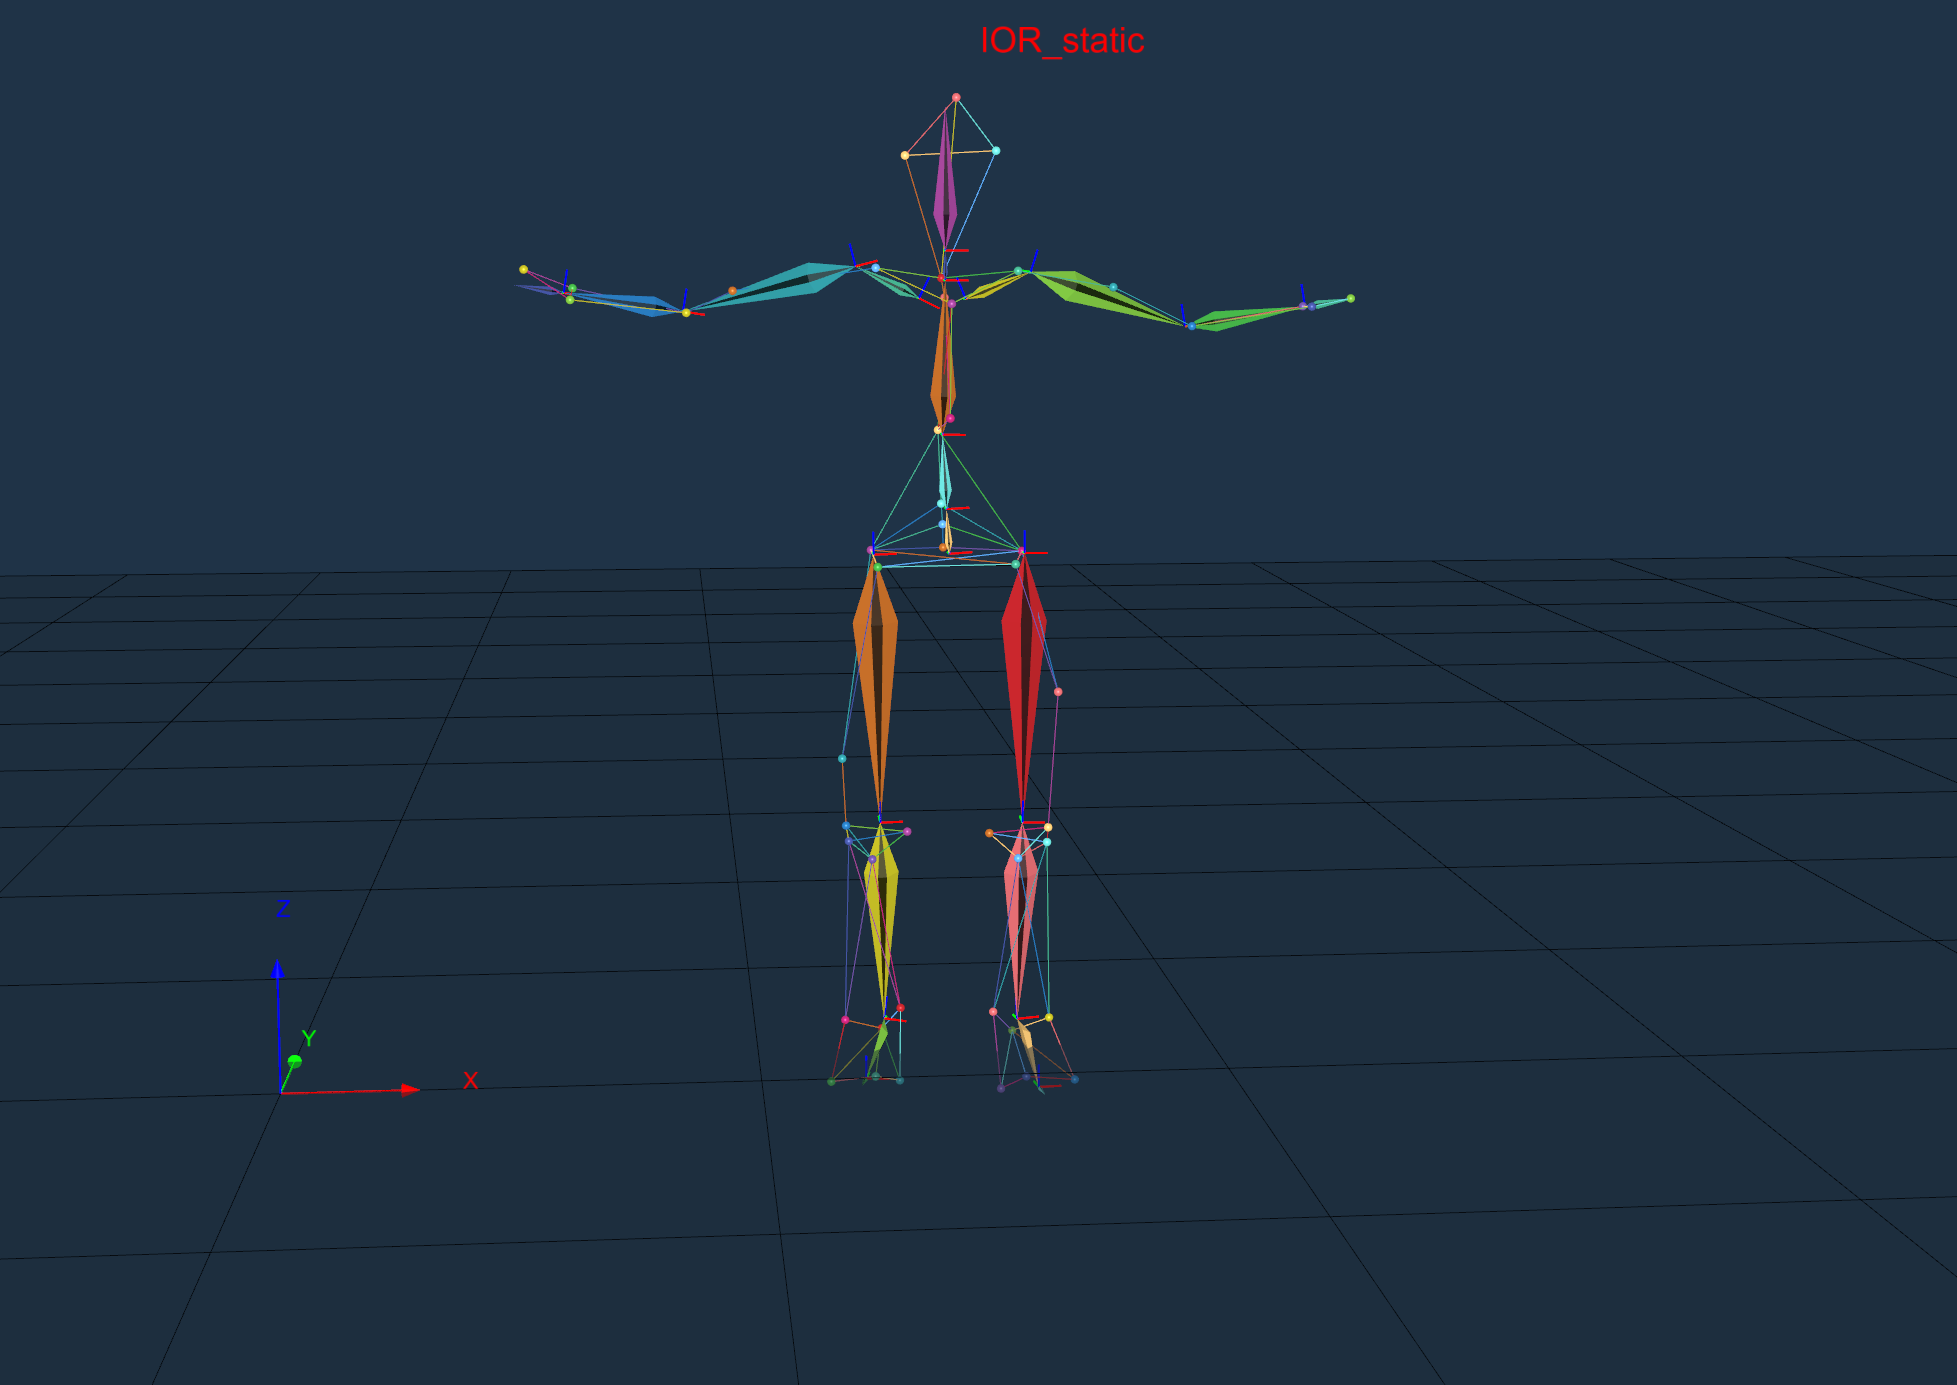
Static Model
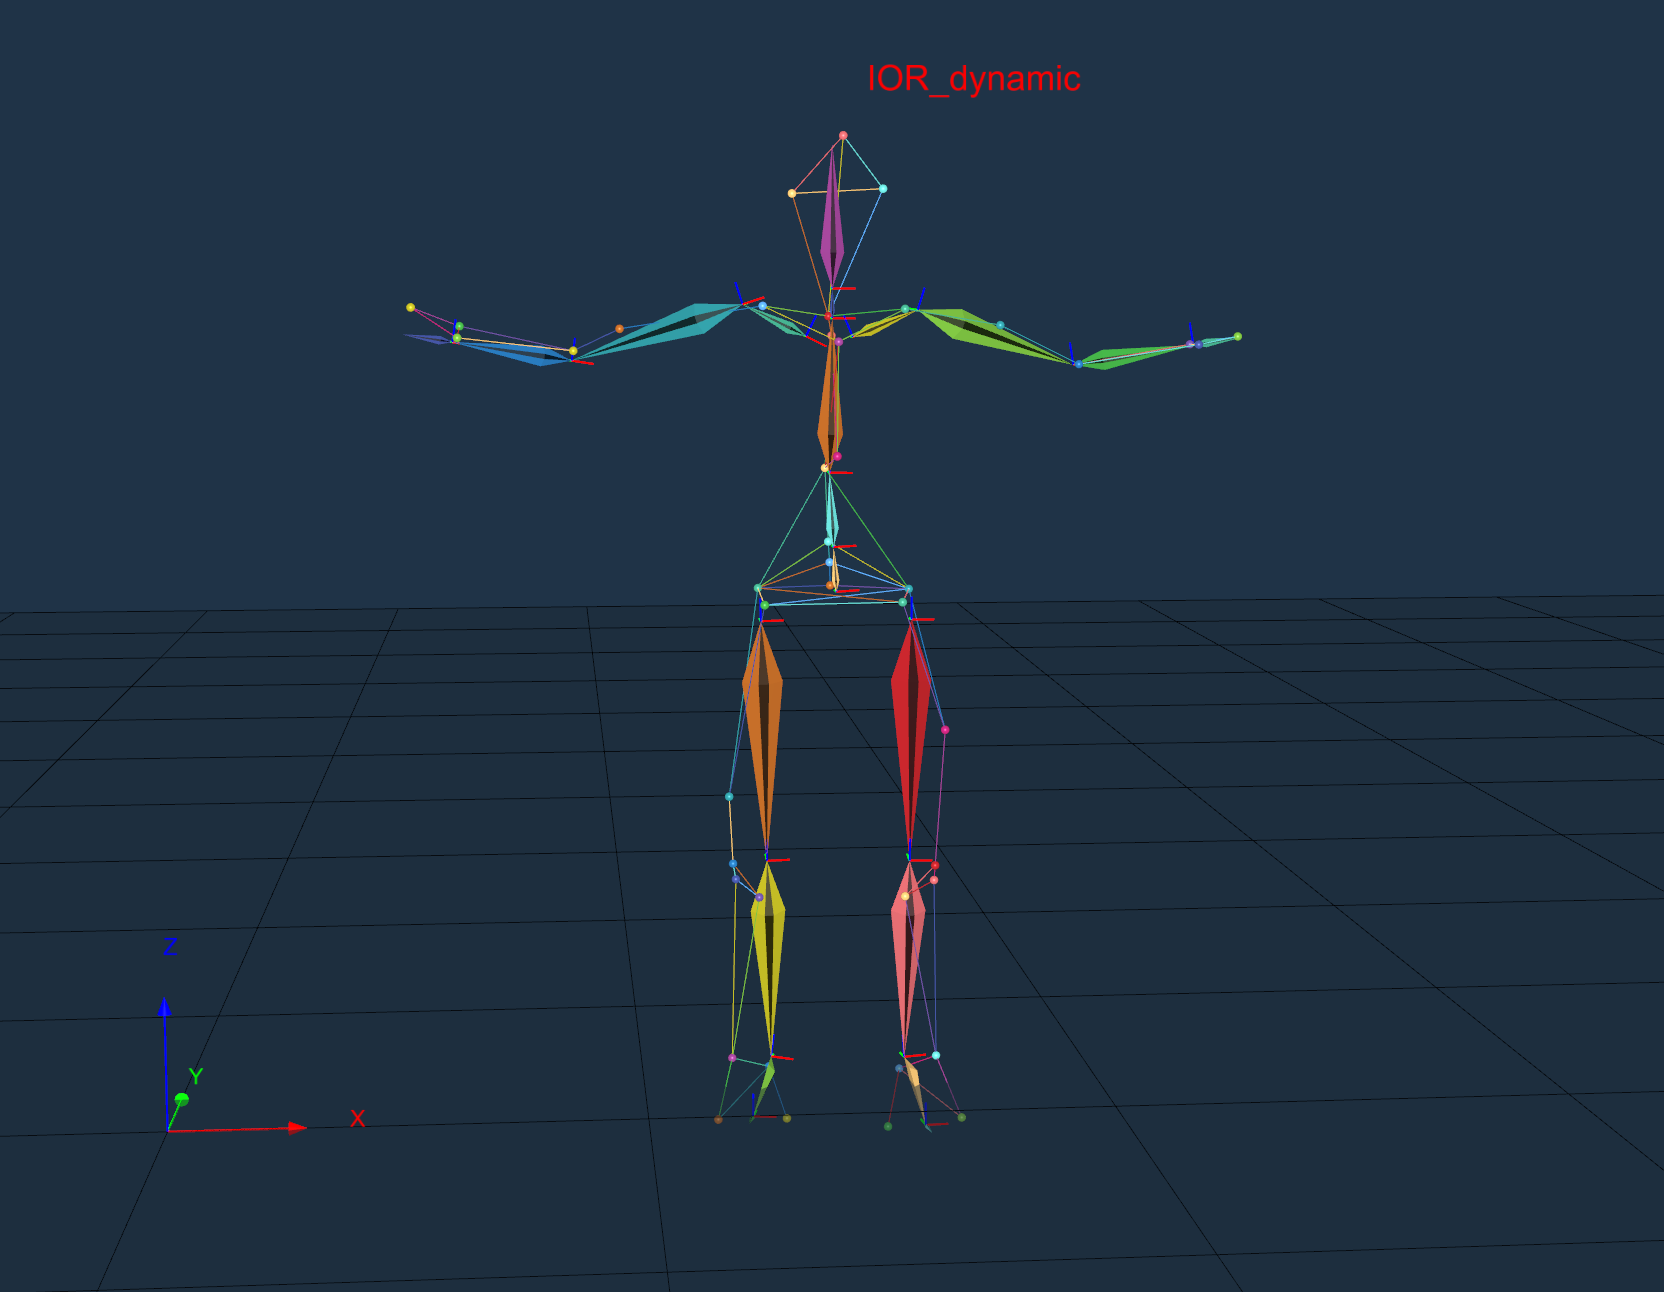
Dynamic Model
- After creation, it is a static model. To recognize the dynamic model, the inner knee points of both legs, the inner ankle points of both feet, and the toe points of both feet need to be removed in order to recognize the IORBody dynamic model.