4、 Hybrid camera
Hardware Configuration and Connection
hardware configuration
- Hybrid lenses require use with 10-gigabit network equipment.
| Switch | Network card | Network Cable |
|---|---|---|
| 10 Gigabit Switch | PCIe 10GbE 10 Gigabit Network Card | CAT7 |
Hardware connection and parameter settings
- Cameras and Switches: Connect the Hybrid lens to the 10 Gigabit switch using CAT7 type network cables.
- A single 10 Gigabit switch can connect up to 3 Hybrid 2H lenses; if using Hybrid 4H lenses, a single 10 Gigabit switch can support up to 2 lenses.
- Computer and Switches: Connect the computer to the switch using CAT7 type network cables.
- Cascading of Multiple Switches: Use CAT7 type network cables to achieve cascading between multiple switches.
- Lens Angles and Parameters: After fixing the lens, adjust the angle to ensure that all lenses can capture the entire venue; adjust the aperture to the maximum brightness, adjust the lens focal length according to the distance of the scene, and adjust the exposure time according to the actual application scenario.
Software Settings and Usage
Software basic settings
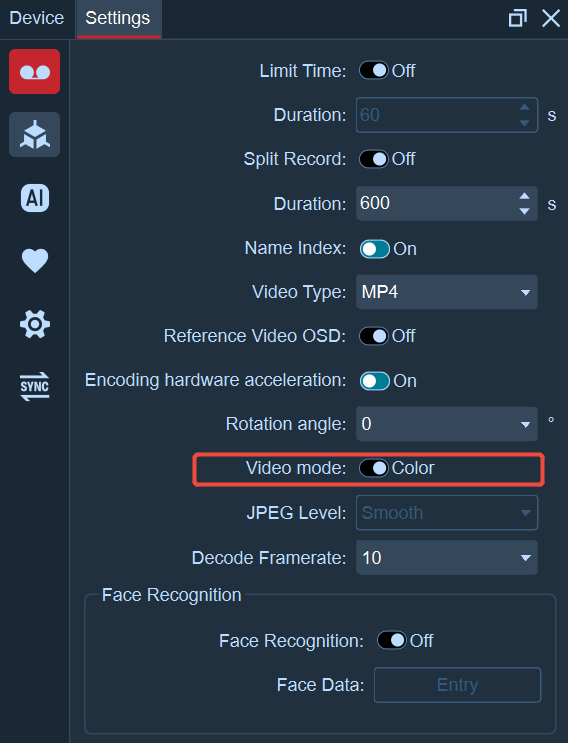
- Camera Mode: The Hybrid lens supports two working modes: • Black and White Mode: Motion capture mode, with the indicator light being red • Color Mode: Video mode, with the indicator light being green
- IP and Default State: After the lens is powered on, it automatically assigns an IP address. By default, it enters the motion capture (black and white) mode.
- Mode Switching Method: ① Open the software and connect the lens ② Enter [Settings] → [Recording Settings] ③ Pause the playback first, then switch the video mode switch ④ After the switch is completed, click to play, and the indicator light and mode will change synchronously.
- Indicator lights for the camera in different modes:
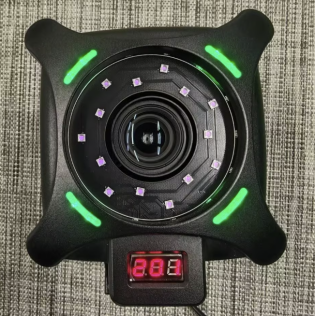
Color (video mode)
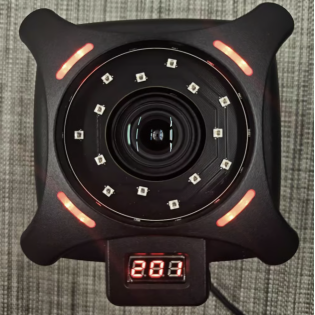
Black and White (Motion Capture Mode)
- Enable "Reference Video OSD" in the recording settings. In color mode, you can view the camera IP in the top left corner of the screen, and the resolution and actual decoded frame rate in the bottom right corner.
Functions of Different Modes
-
Motion Capture (Black and White) Mode:
1)Switch to the black-and-white mode. In the 2D view, the Hybrid lens can extract 2D points. If 2D points cannot be extracted, the threshold and exposure of the lens can be appropriately adjusted.
2)In the black-and-white mode, the Hybrid lens supports calibration together with ordinary optical lenses. The calibration steps can be referred to in the calibration section of this document. After completing the TL calibration, the Hybrid lens will also participate in the reconstruction of 3D points.
-
Video (color) mode usage:
1)Switch to the color mode and open the reference video to see the color images of the Hybrid lens.
2)Reference video overlay: After calibration is completed in black-and-white mode, create the asset and switch to the color mode. There is no need for reference video calibration. The results of the TL calibration can be directly reused. On the reference video view, the assets and unnamed points in the 3D view will be overlaid and displayed.
3)In color mode, the Hybrid lens does not participate in the 3D point reconstruction.
MP4 Format Conversion
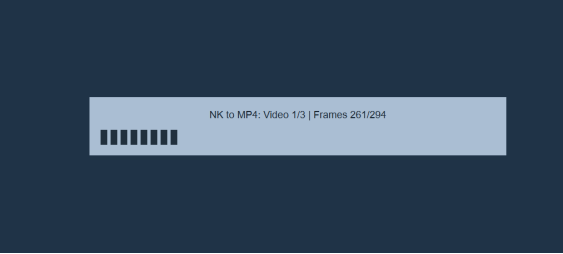
- During real-time mode recording, data from the reference video is captured. When loading the recorded data in post-processing mode, the software will pop up a window asking whether to convert it to MP4 format.
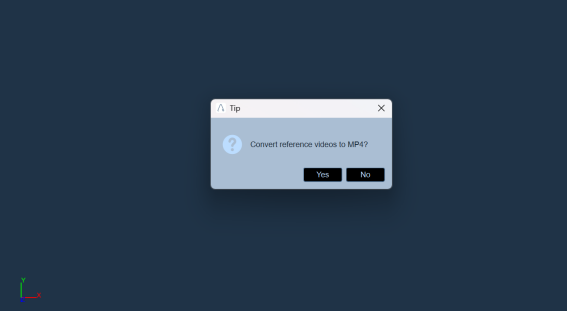
- Select "Yes": The system will automatically convert all the reference videos in the loaded data into MP4 format and save them to the "VideoRecords" folder under the data directory.
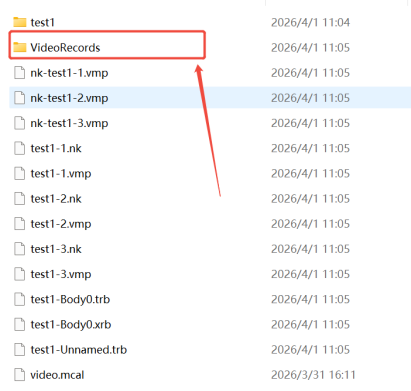
- Select "No": Directly load the data. Only the reference video can be viewed within the software. There are no MP4 format files in the data folder.
Compression Level and Decoding Frame Rate
Compression Level
- Switch the video mode to color mode, open the reference video view, and open the settings -- recording settings.
- Expand the drop-down list of JPEG compression levels.
- In the list, you can set the quality of the Hybrid lens reference video image. The quality levels are: Smooth, Balanced, High Definition, and Ultra High Definition. The higher the compression level, the higher the image quality.

- Please set the compression level based on the current performance of your computer.
- After setting the compression level, the software will automatically adjust the frame rate according to the selected compression level. You can also manually modify the frame rate while the playback is paused. When the compression level is set to "Smooth", the maximum frame rate is 160 fps; for "Balanced" level, it is 90 fps; for "High Definition" level, it is 70 fps; and for "Ultra High Definition" level, it is 60 fps.
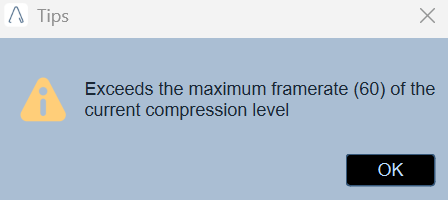
- If the frame rate you modify exceeds the maximum frame rate supported by the current compression level, the software will give a prompt and automatically set the frame rate to the maximum value supported by the current compression level.
Decoding Frame Rate
- Expand the decoding frame rate list and set the decoding frame rates to "10, 15, 20, 25, 30".
- If there is delay or stuttering in the video image after setting the compression level, it might be due to insufficient performance of your computer. In this case, you can reduce the decoding frame rate to solve the problem.