8.PlugIn Gait Marker Placement Instructions
PlugIn Gait Human Template Marker Placement Instructions
| Marker Name | Description | PlugIn Gait FullBody(39) | PlugIn Gait LowerBody(16) | Placement position |
| RF.Head | Right Back of the Head | √ | Right Occiput | |
| LF.Head | Left Back of the Head | √ | LeftOcciput | |
| LB.Head | Left Front of the Head | √ | Left Temple | |
| RB.Head | Left Front of the Head | √ | Right Temple | |
| C7 | 7th cervical vertebra | √ | On the spinous process of the 7th cervical vertebra | |
| T10 | 10th thoracic vertebra | √ | On the spinous process of the 10th thoracic vertebra | |
| CLAV | Clavicle | √ | On the jugular notch where the clavicles meet the sternum | |
| STRN | Sternum | √ | On the xiphoid process of the sternum | |
| RBAK | Right back | √ | Anywhere over the right scapula,(This marker has no equivalent marker on the left side. This asymmetry helps the autolabeling routine determine right from left on the subject. Placement is not critical as it is not included in the Plug-in Gait model calculations.) | |
| R.Shoulder | Right shoulder | √ | On the acromio-clavicular joint | |
| R.Upperarm | Right upper arm | √ | On the lower lateral 1/3 surface of the right arm (Place asymmetrically with LUPA) | |
| R.Elbow | Right elbow | √ | On the lateral epicondyle approximating the elbow joint axis | |
| R.Forearm | Right forearm | √ | On the lower lateral 1/3 surface of the right forearm (Place asymmetrically with LFRM) | |
| R.WristIn | Right Wrist - Inner Side | √ | At the thumb side of a bar attached symmetrically with a wristband on the posterior of the right wrist, as close to the wrist joint center as possible | |
| R.WristOut | Right Wrist - Outer Side | √ | At the little finger side of a bar attached symmetrically with a wristband on the posterior of the right wrist, as close to the wrist joint center as possible | |
| R.Finger | Right finger | √ | Just below the middle knuckle on the right hand | |
| L.Shoulder | Left shoulder | √ | On the acromio-clavicular joint | |
| L.Upperarm | Left upper arm | √ | On the upper lateral 1/3 surface of the left arm (Place asymmetrically with RUPA) | |
| L.Elbow | Left elbow | √ | On the lateral epicondyle | |
| L.Forearm | Left forearm | √ | On the lower lateral 1/3 surface of the left forearm (Place asymmetrically with RFRM) | |
| L.WristIn | Left wrist Left Wrist - Inner Side | √ | At the thumb side of a bar attached to a wristband on the posterior of the left wrist, as close to the wrist joint center as possible. Loose markers can be used but for better tracking of the axial rotations, a bar is recommended. | |
| L.WristOut | Left wrist Left Wrist - Outer Side | √ | At the little finger side of a bar attached to a wristband on the posterior of the left wrist, as close to the wrist joint center as possible. Loose markers can be used but for better tracking of the axial rotations, a bar is recommended. | |
| L.Finger | Left finger | √ | Just proximal to the middle knuckle on the left hand | |
| R.ASIS | Right Anterior Superior Iliac Spine | √ | √ | Right Anterior Superior Iliac Spine |
| L.ASIS | Left Anterior Superior Iliac Spine | √ | √ | Left Anterior Superior Iliac Spine |
| R.PSIS | Right Posterior Superior Iliac Spine | √ | √ | Right Posterior Superior Iliac Spine (Located below the sacroiliac joint, where the spine connects with the pelvis) |
| L.PSIS | L.Right Posterior Superior Iliac Spine | √ | √ | Left Posterior Superior Iliac Spine (Located below the sacroiliac joint, where the spine connects with the pelvis) |
| R.Thigh | Right Thigh | √ | √ | Over the upper lateral 1/3 surface of the right thigh |
| R.Knee | Right Knee | √ | √ | On the flexion-extension axis of the right knee. |
| R.Shank | Right Shank | √ | √ | Over the upper 1/3 surface of the right shank |
| R.Ankle | Right Ankle | √ | √ | On the lateral malleolus along an imaginary line that passes through the transmalleolar axis |
| R.Heel | Right Heel | √ | √ | On the calcaneous at the same height above the plantar surface of the foot as the toe marker |
| R.Toe | Right Toe | √ | √ | Over the second metatarsal head, on the mid-foot side of the equinus break between fore-foot and mid-foot |
| L.Thigh | Left Thigh | √ | √ | Over the lower lateral 1/3 surface of the left thigh |
| L.Knee | Left Knee | √ | √ | On the flexion-extension axis of the left knee |
| L.Shank | Left Shank | √ | √ | Over the lower 1/3 surface of the left shank |
| L.Ankle | Left Ankle | √ | √ | On the lateral malleolus along an imaginary line that passes through the transmalleolar axis |
| L.Heel | Left Heel | √ | √ | On the calcaneous at the same height above the plantar surface of the foot as the toe marker |
| L.Toe | Left Toe | √ | √ | Over the second metatarsal head, on the mid-foot side of the equinus break between fore-foot and mid-foot |
Human Body Marker Placement Diagram
PlugIn Gait FullBody(39)
.png)
.png)
.png)
PlugIn Gait FullBody(16)
.png)
.png)
.png)
Real Marker Placement Diagram
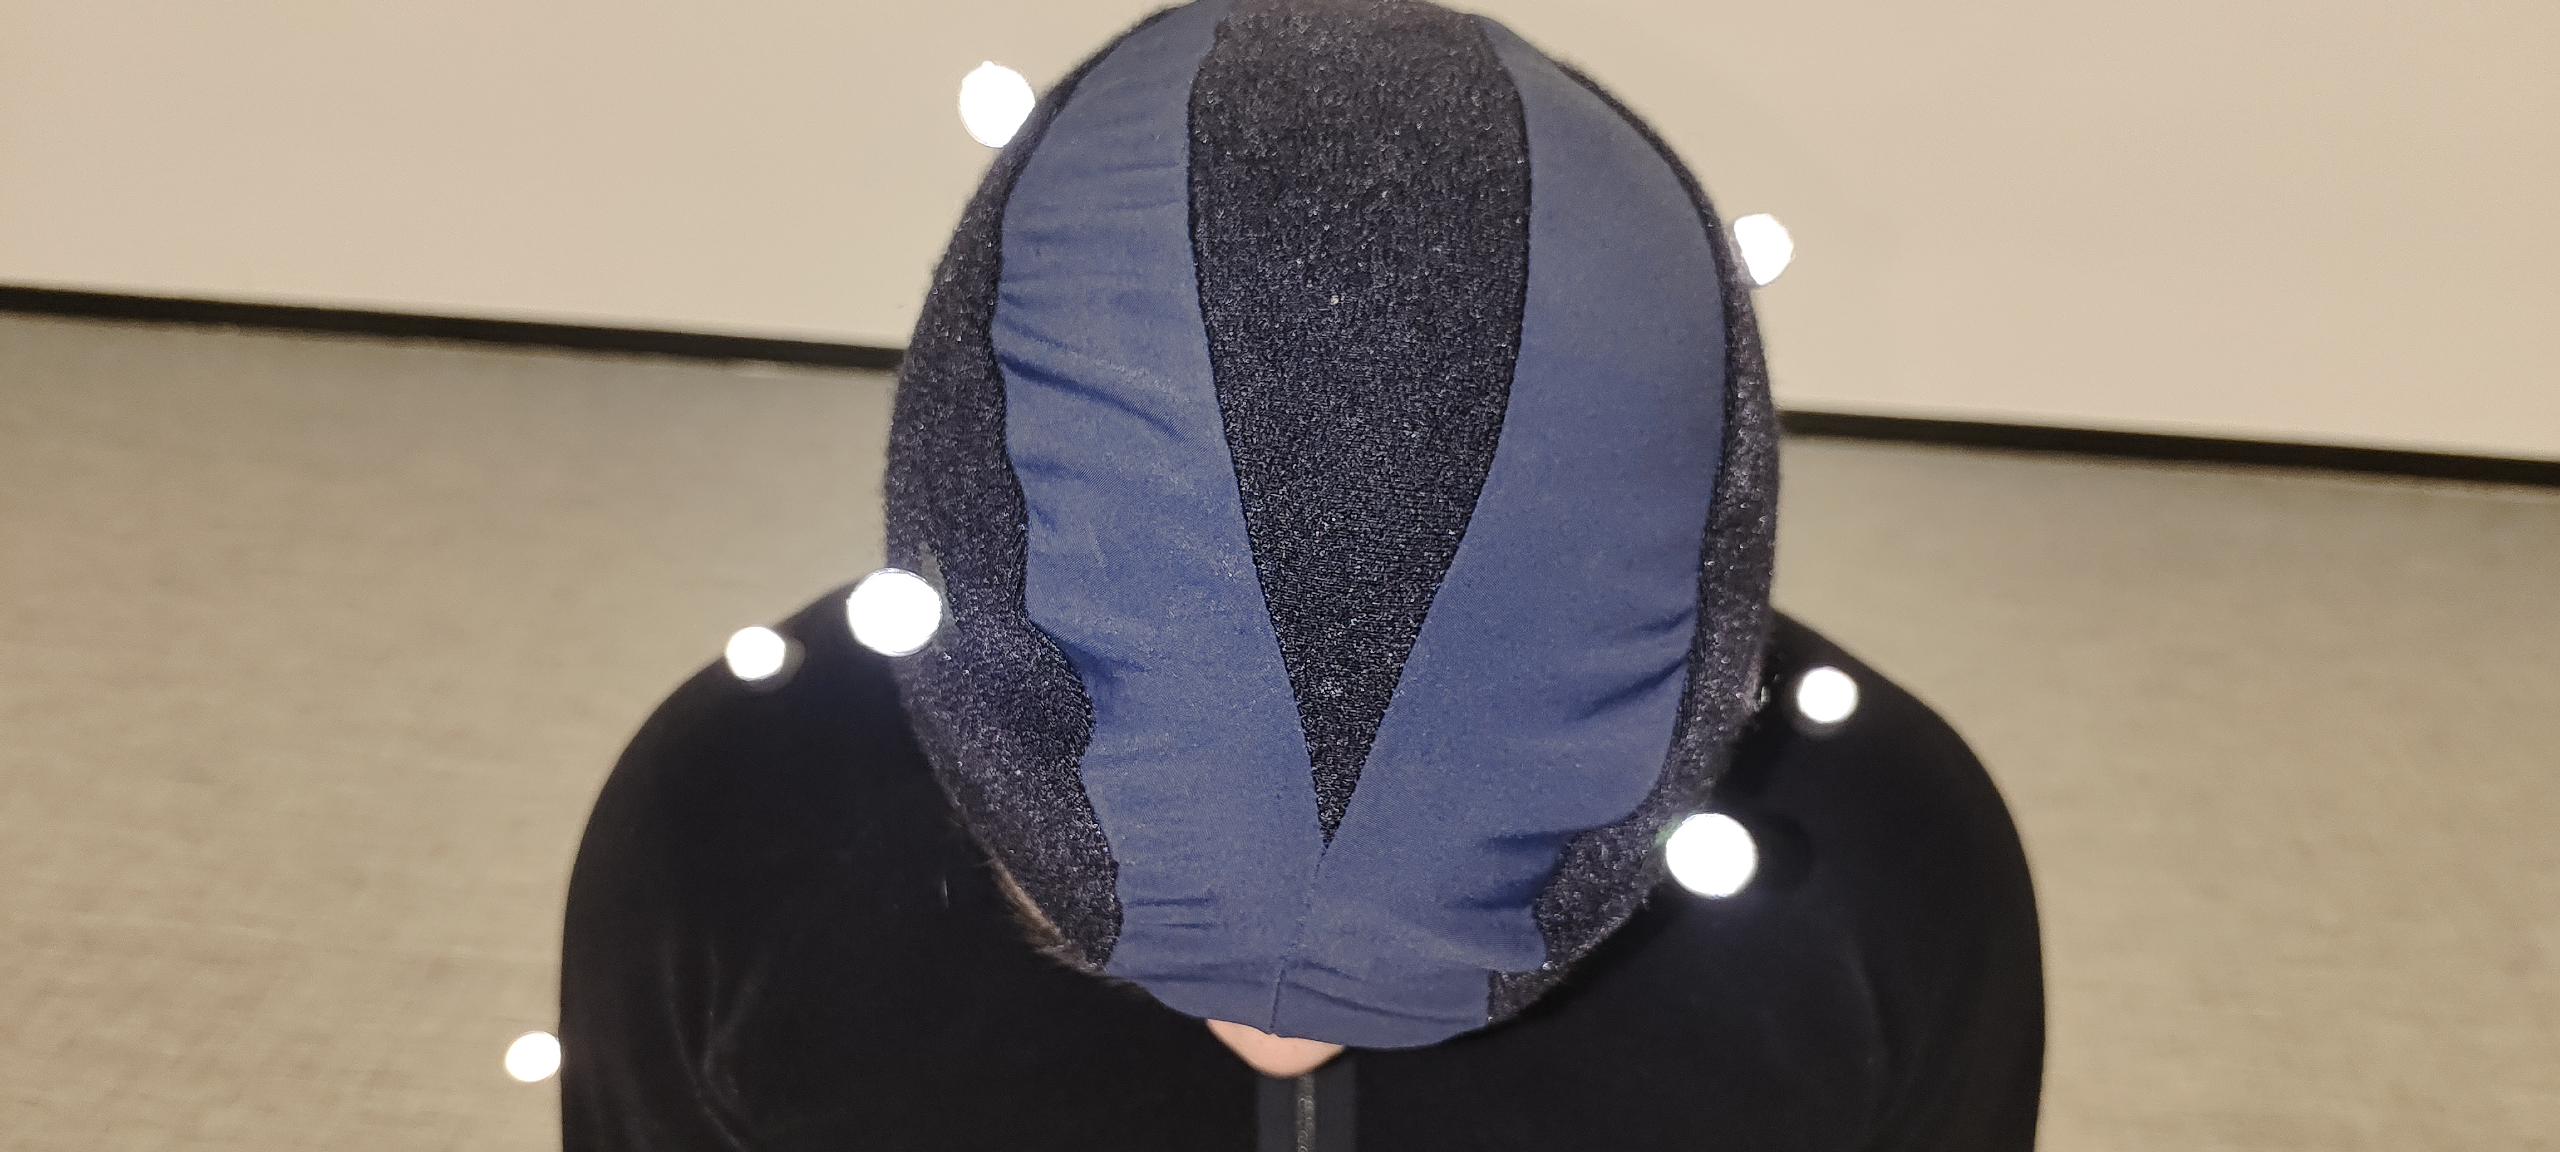
Frontal Top View of the Head
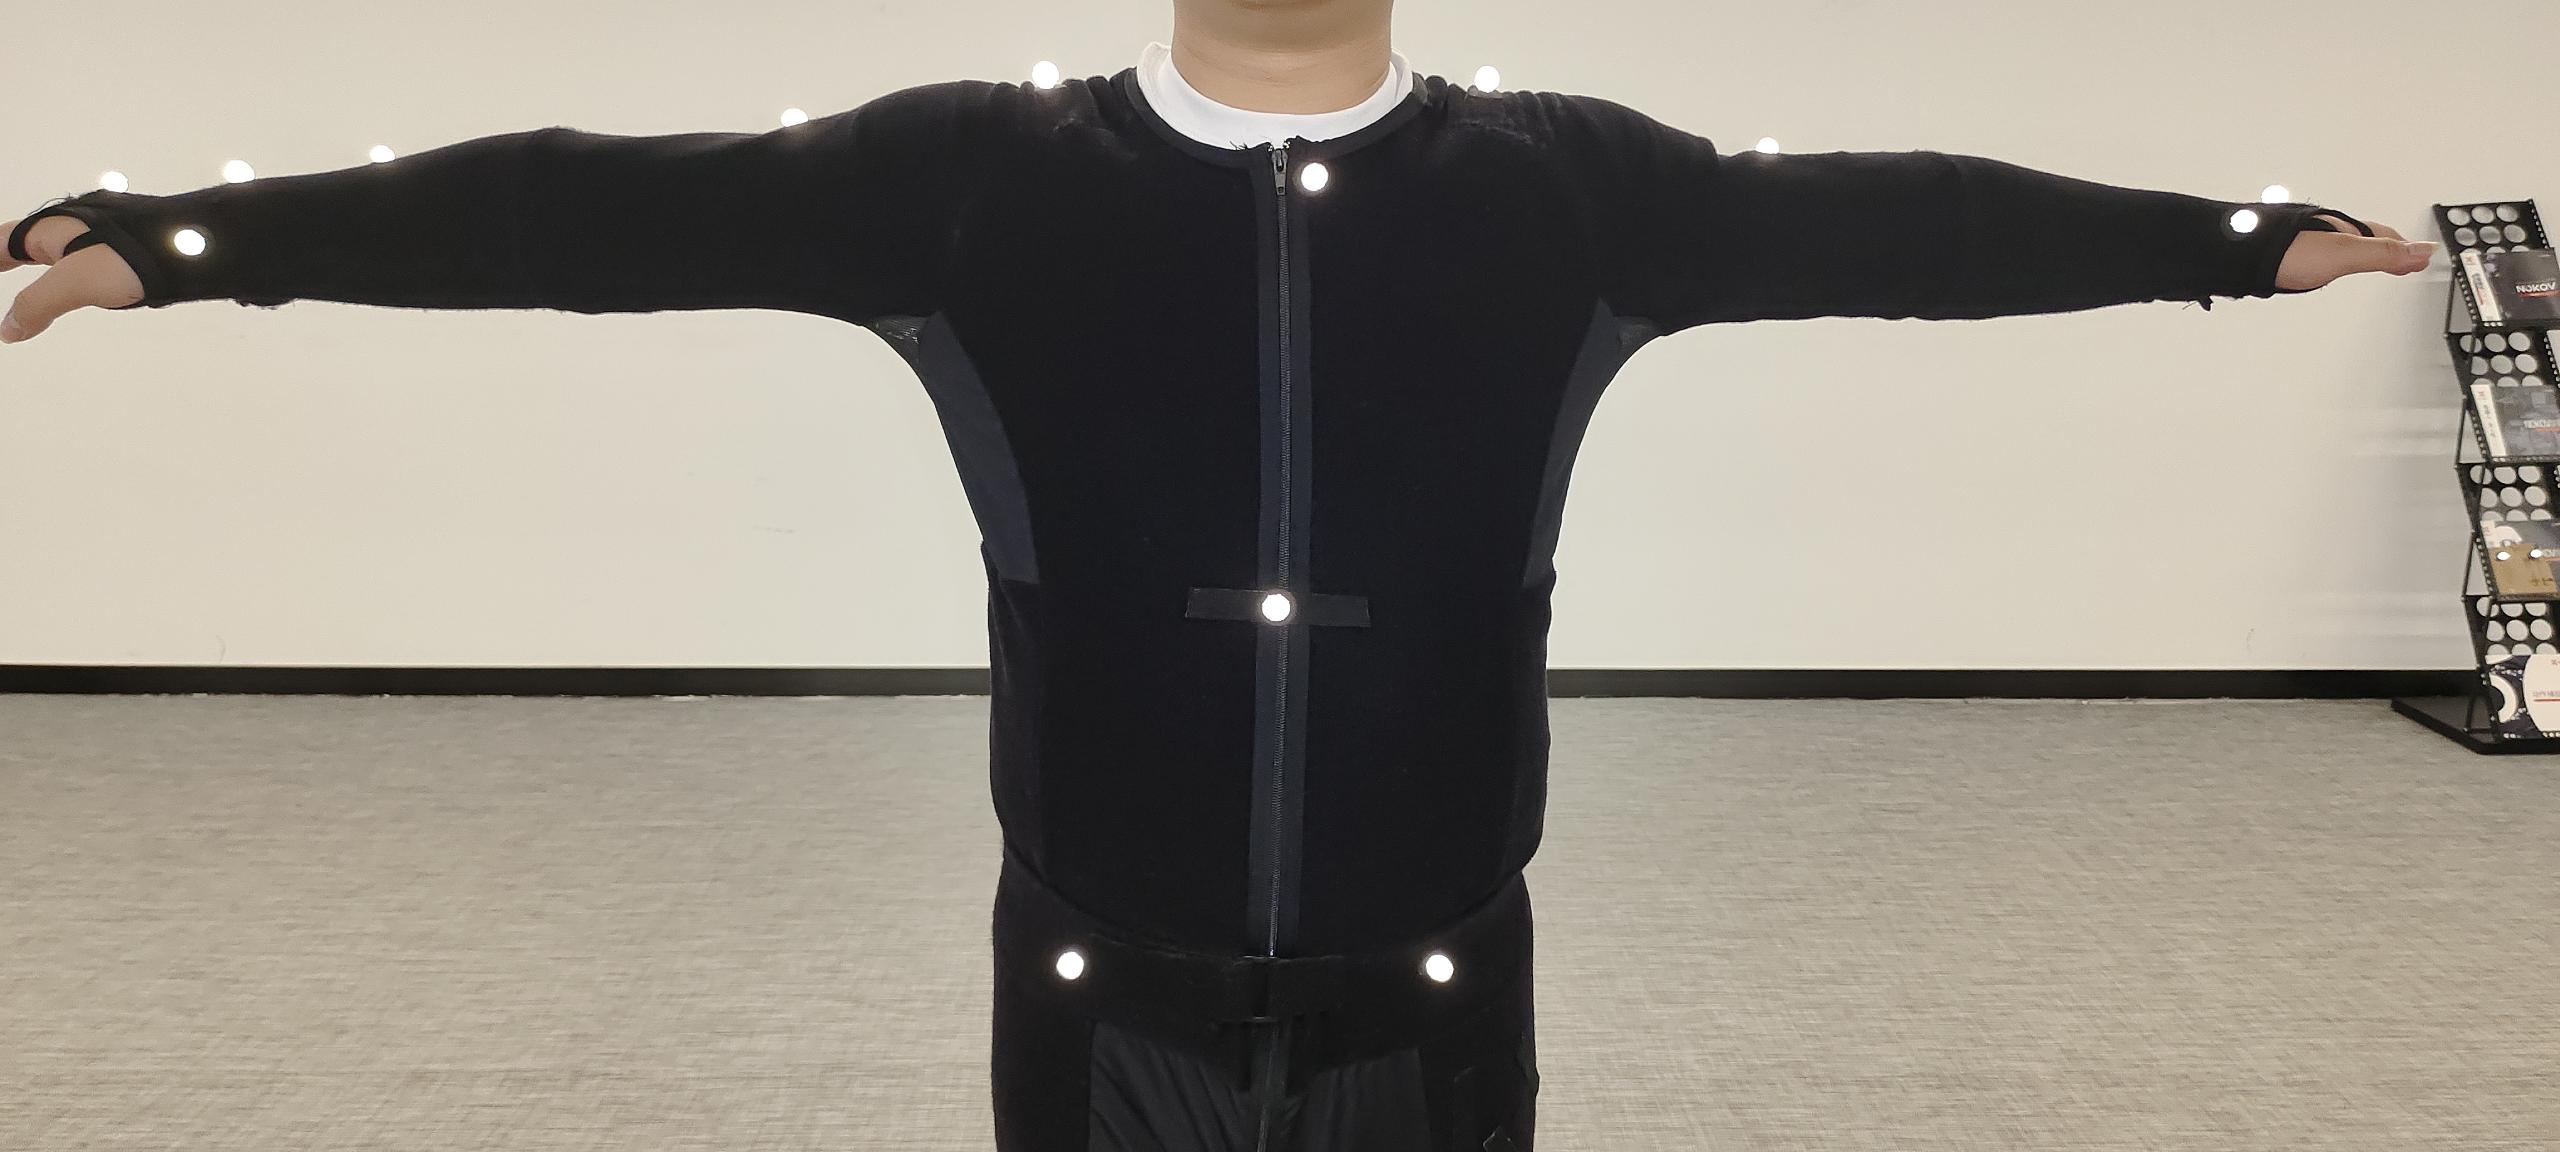
Upper Body View
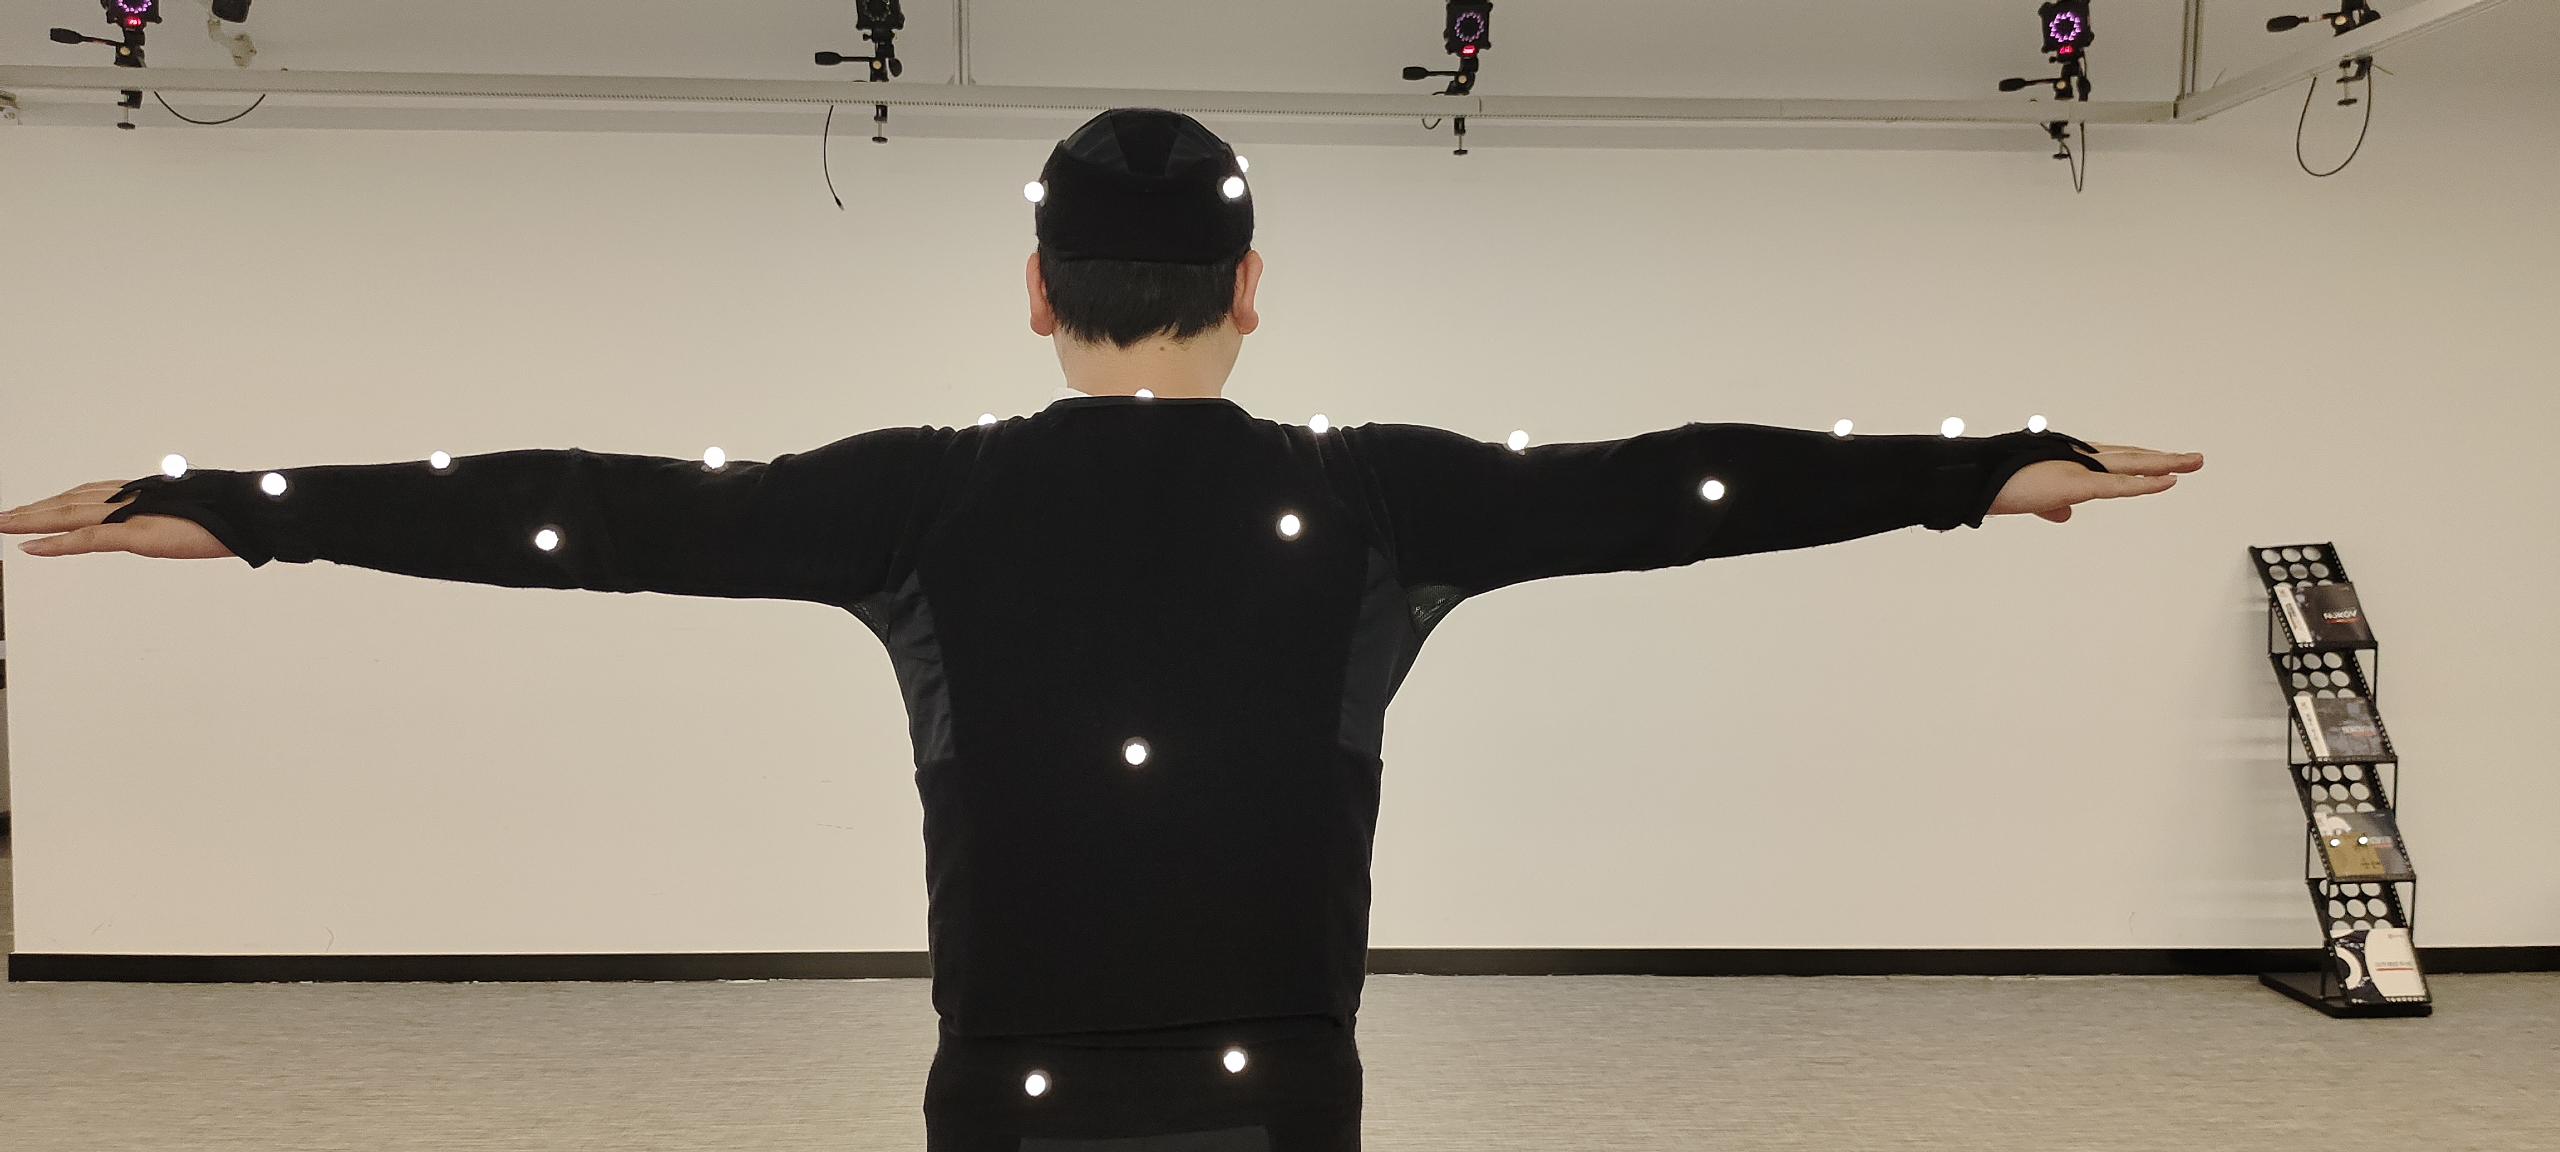
Back View
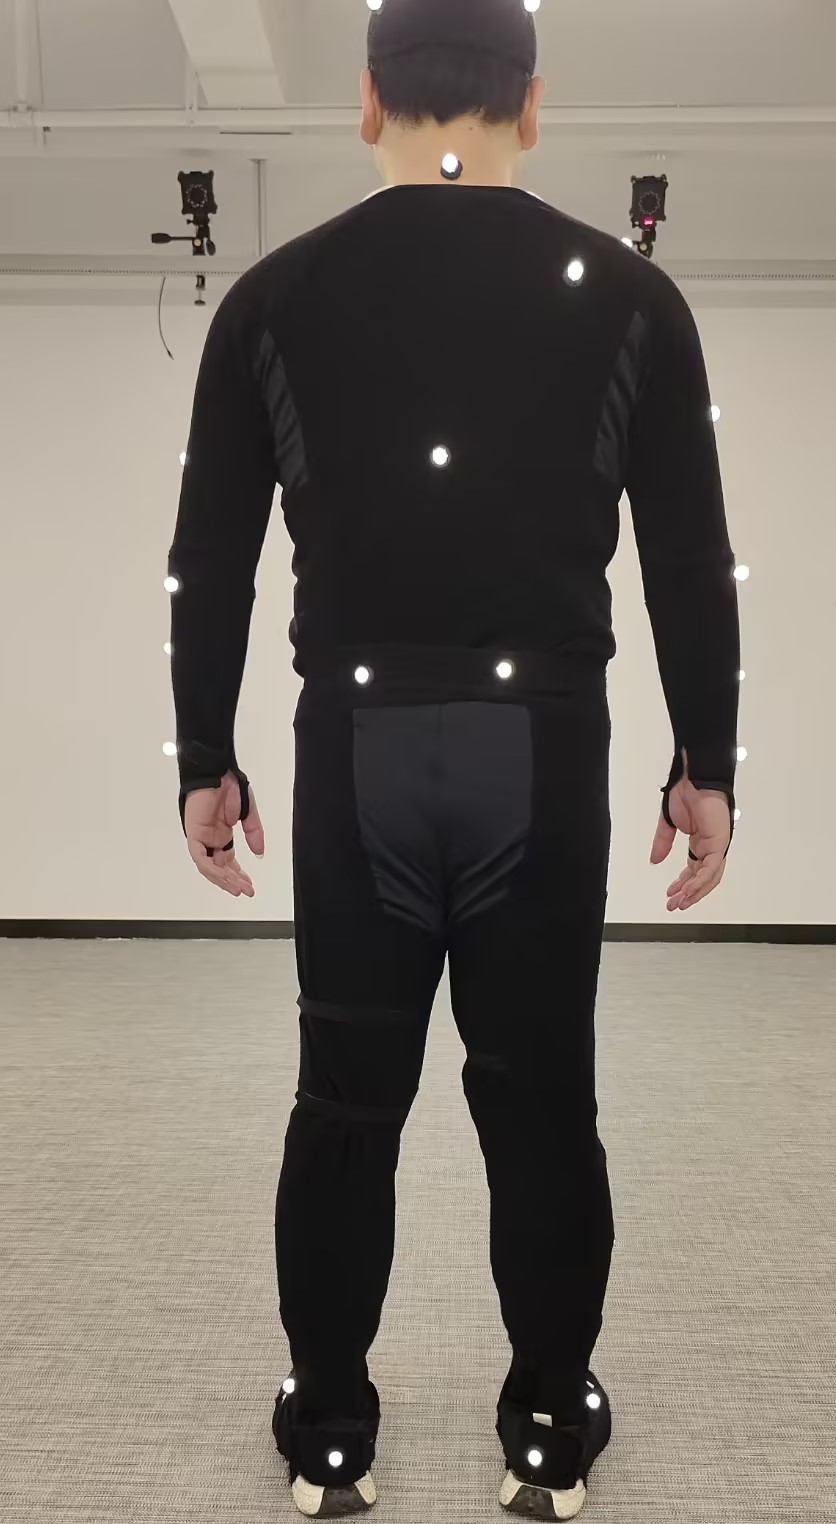
Back Front View
.jpg)
Right Arm View
.jpg)
Left Arm View