(Ⅰ) VRPN Protocol Method
ROS2 version: foxy, Ubuntu version: 20.04
Ⅰ. VRPN Download and Installation
- Enter the following command in the terminal to query the VRPN version that can be installed currently. This version must be consistent with the installed ROS2 version.
sudo apt search vrpn
.png)
apt search
- If the package manager can find the corresponding VRPN version, enter the following command in the terminal to install the VRPN library. In this example, the installed ROS2 version is foxy, and ros-foxy-vrpn is used.
sudo apt install ros-foxy-vrpn
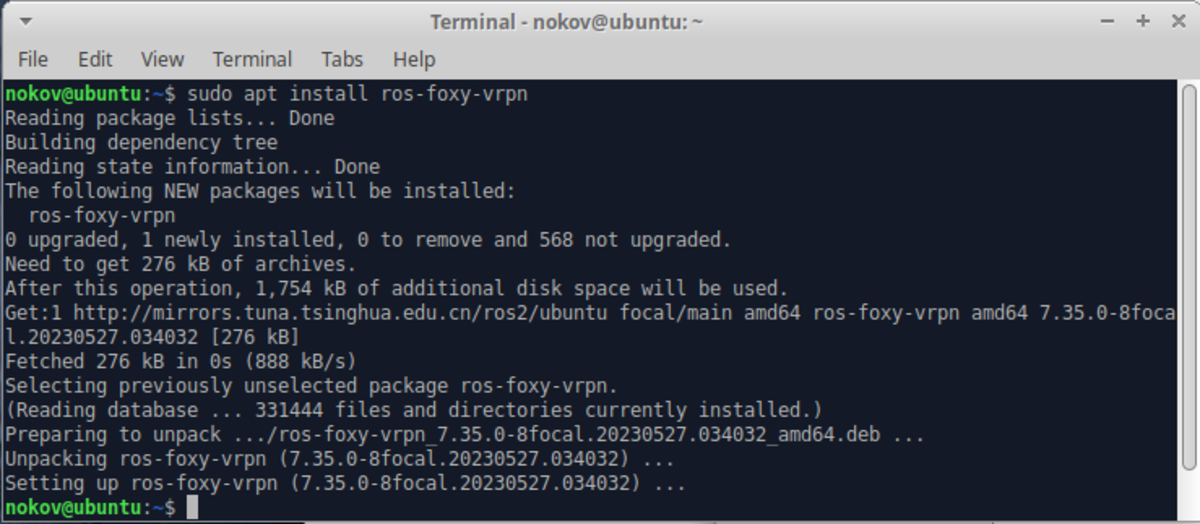
apt Installation
- If the package manager does not find the corresponding VRPN version, use the following commands to download the source code and install the VRPN library. This operation is applicable to different ROS2 versions.
# Pull vrpn repository
git clone --recurse-submodules https://github.com/vrpn/vrpn.git
cd vrpn/
mkdir build
cd build
cmake ../
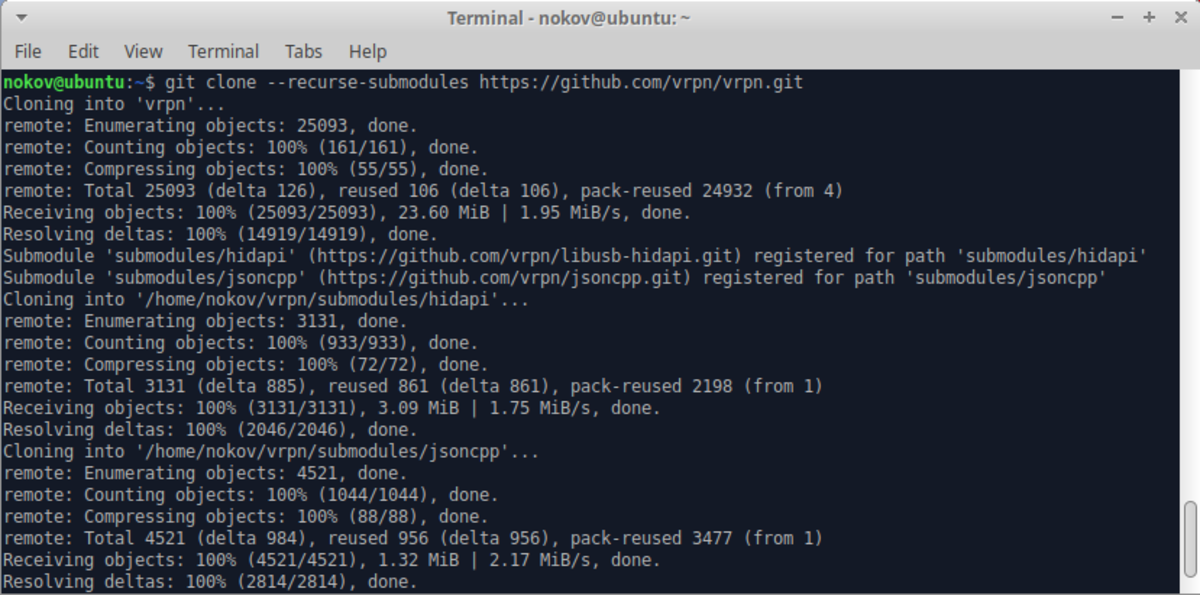
Pull vrpn Repository

cmake build
sudo make install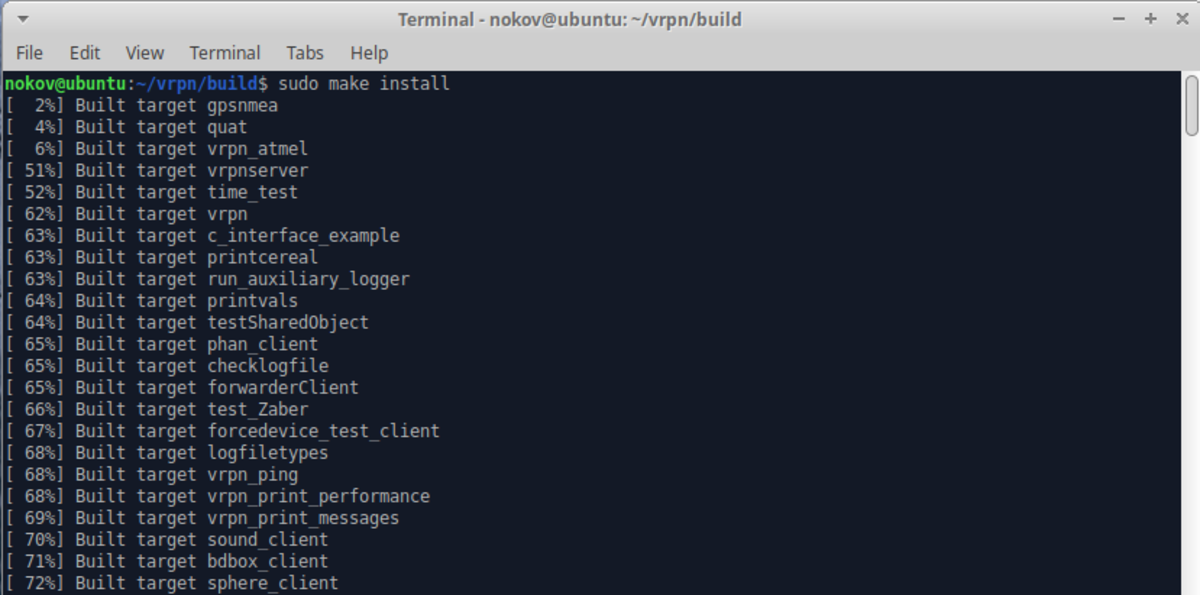
make install
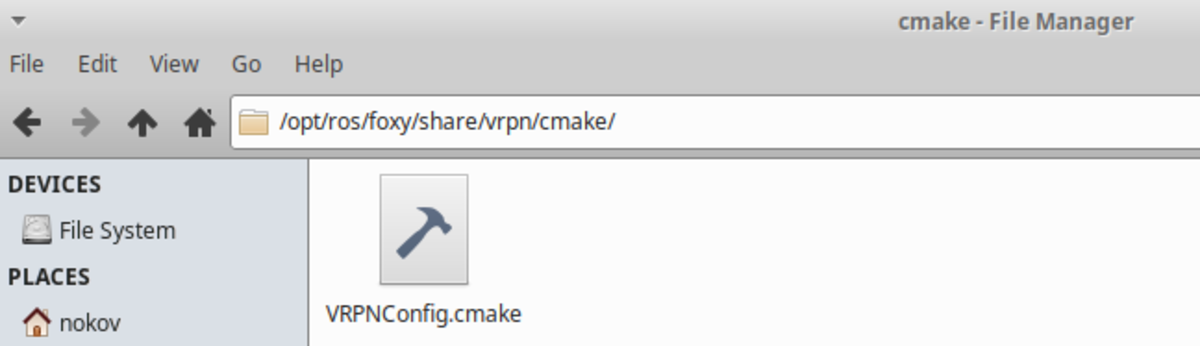
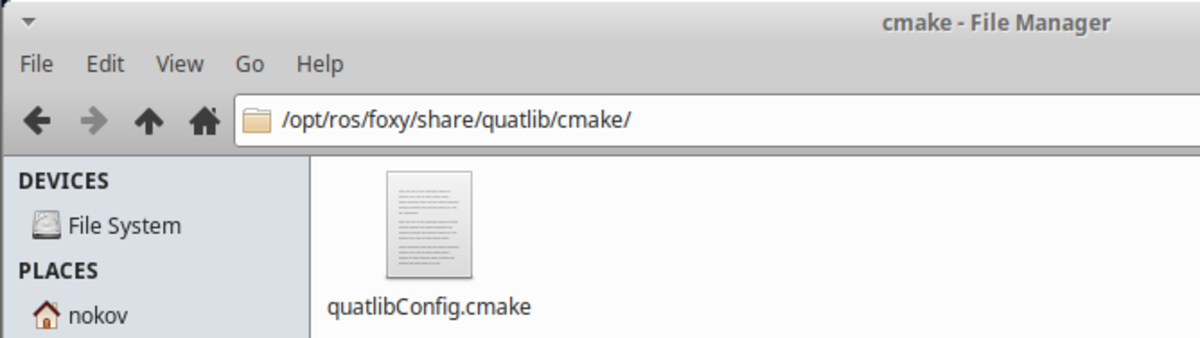
- Save the quatlibConfig.cmake file and VRPNConfig.cmake in the corresponding folder, and use the following commands to create the corresponding directory (replace "foxy" according to the installed ROS version).
sudo mkdir -p /opt/ros/foxy/share/vrpn/cmake/
sudo mkdir -p /opt/ros/foxy/share/quatlib/cmake/

Create Folder
Ⅱ. vrpn_client_ros Download and Installation
(Ⅰ) Install Related Dependencies
sudo apt install -y
     ros-foxy-geometry-msgs
     ros-foxy-tf2
     ros-foxy-tf2-ros
     ros-foxy-ament-cmake
     ros-foxy-ament-lint-auto
     ros-foxy-ament-lint-common
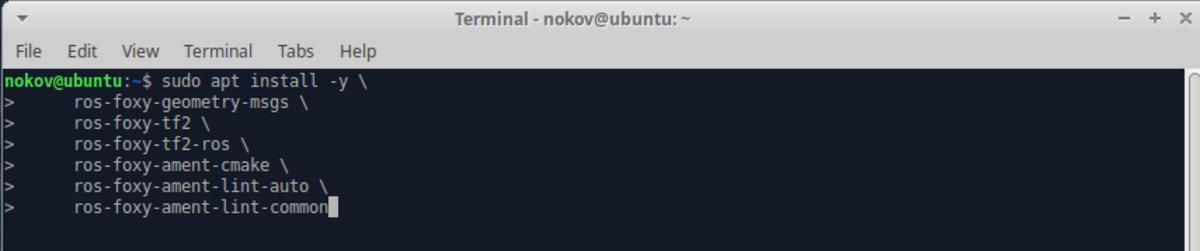
Install Dependencies
(Ⅱ) Compile and Install vrpn_client_ros
- Run the following commands in sequence.
mkdir -p ~/catkin_vr/src
cd ~/catkin_vr/src/
git clone https://github.com/NOKOV-MOCAP/vrpn_client_ros.git
cd ~/catkin_vr/
colcon build --symlink-install
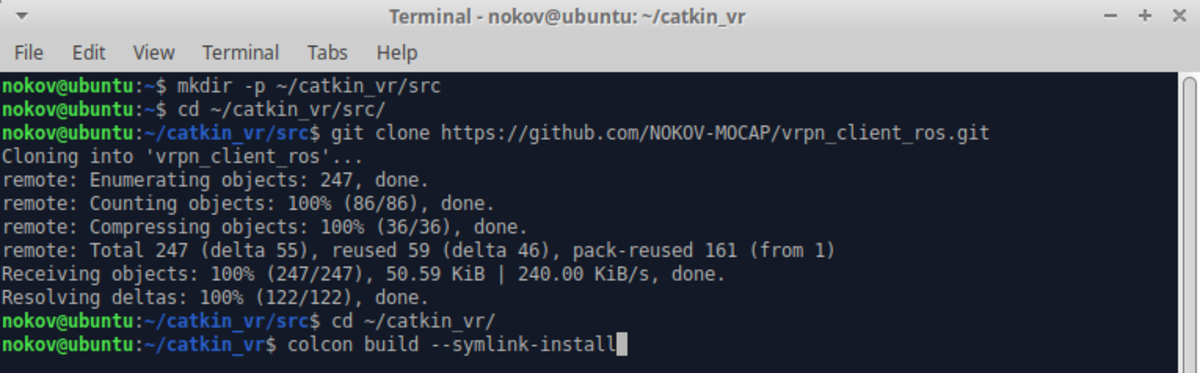
colcon build
- Use the following commands to configure the environment and load the environment in this terminal.
source ~/catkin_vr/install/setup.bash
echo 'source ~/catkin_vr/install/setup.bash' >> ~/.bashrc

Write to bashrc
Ⅲ. Run vrpn_client_ros
- When starting vrpn_client-ros, note that the IP address setting must be correct, and it must be on the same network segment as the XINGYING software host and able to ping. Please close the computer's firewall. Refer to the following commands, and replace the network card name with the local network card.
ifconfig ens33
sudo ufw disable
ping -c 4 10.1.1.198
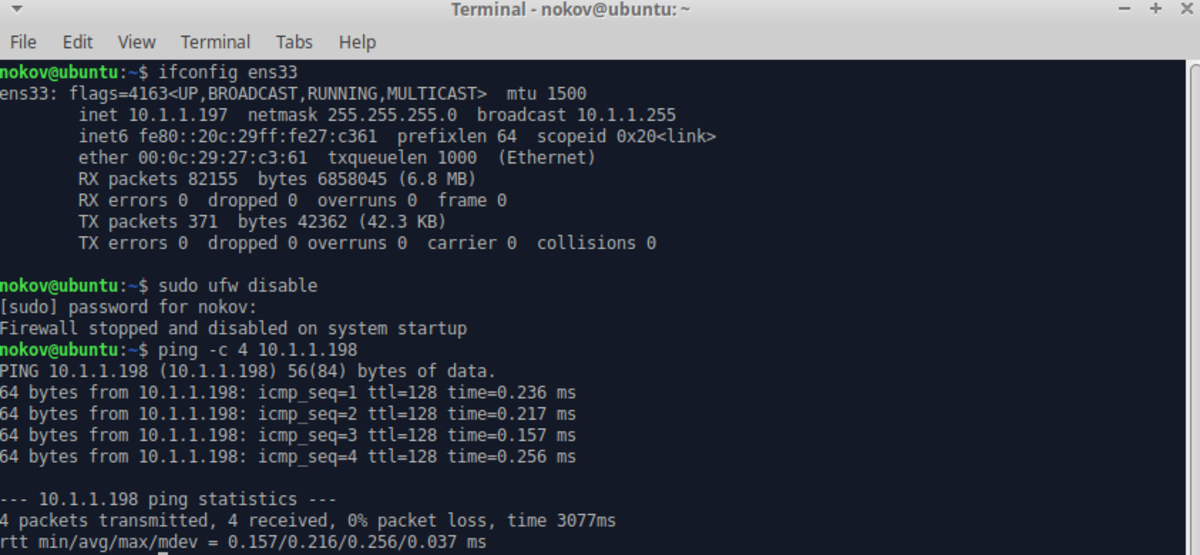
Check Network Configuration
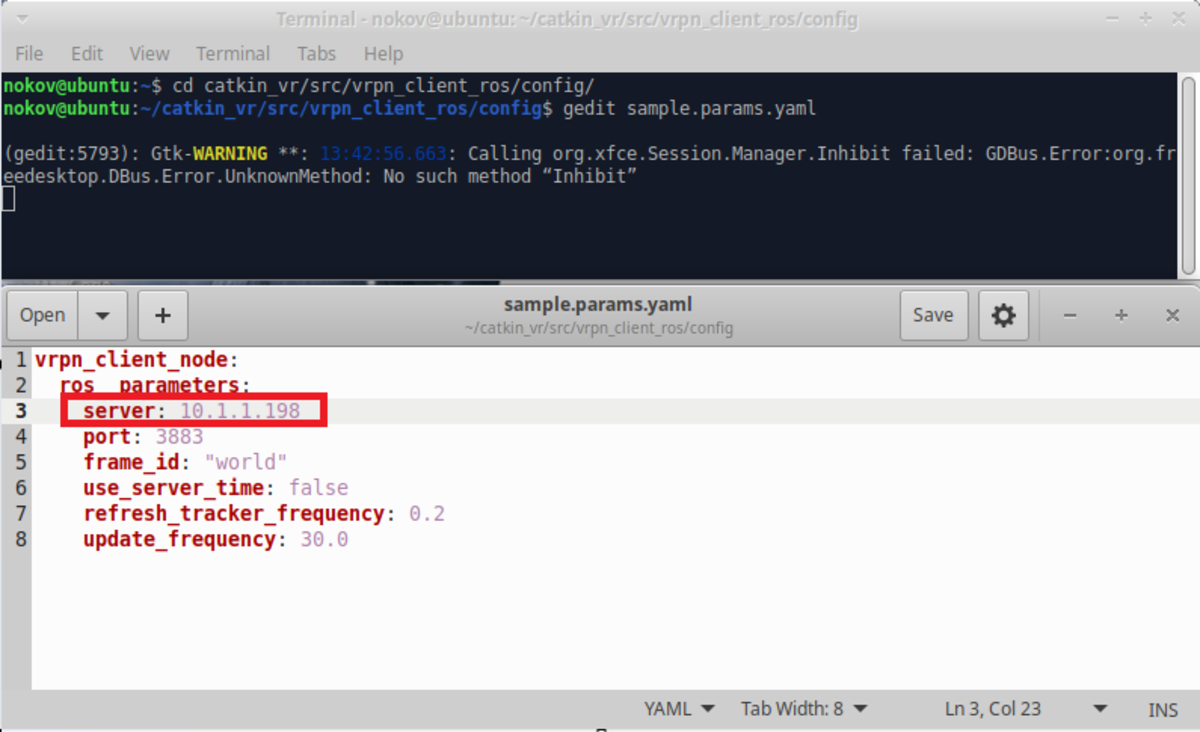
- Navigate to the path: catkin_vr/src/vrpn_client_ros/config, enter gedit sample.params.yaml, the server's IP address is "192.168.0.107", modify the server's IP address to XINGYING's sending address "10.1.1.198", save the file and exit.
cd ~/catkin_vr/src/vrpn_client_ros/config
gedit sample.params.yaml
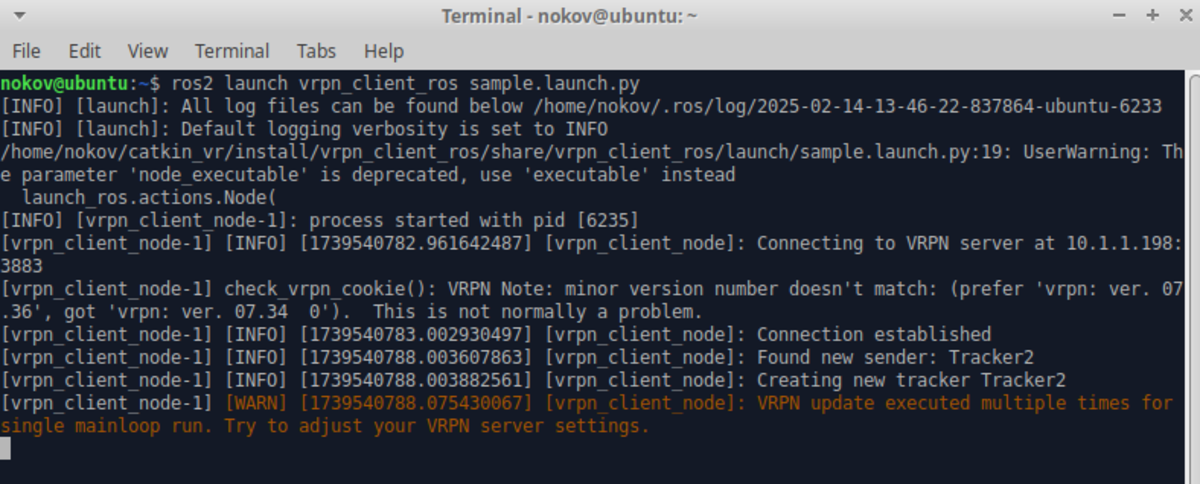
- Enter the following command and press Enter. If the three lines "Connection established", "Found new sender: Tracker2", and "Creating new tracker Tracker2" are printed, it means the connection is successful and motion capture has successfully established communication, and ROS2 has obtained motion capture data. "Tracker2" represents the name of the Markerset in XINGYING software.
ros2 launch vrpn_client_ros sample.launch.py
ros2 launch
Ⅳ. Topic Subscription and Query
- Open a terminal and view topic topics. Enter the command "ros2 topic list" to see the topic "/Tracker2/pose". "Tracker2" represents the name of the Markerset in XINGYING software;
ros2 topic list

ros2 Topic List
- Enter the command "ros2 topic echo /Tracker2/pose" and press Enter to see the received data. "Tracker0" represents the name of the Markerset in XINGYING software. Data description: "Pose" represents the position and orientation of the Markerset. "Position" under "Pose" represents the position information of the Markerset, and "orientation" represents the orientation rotation information of the Markerset. Only when the "Rigid Body" type is checked, the "orientation" data will be printed in ROS2. When the "Marker Point, Marker Point (Unnamed)" type is checked, "orientation" will not print data.
ros2 topic echo /Tracker2/pose
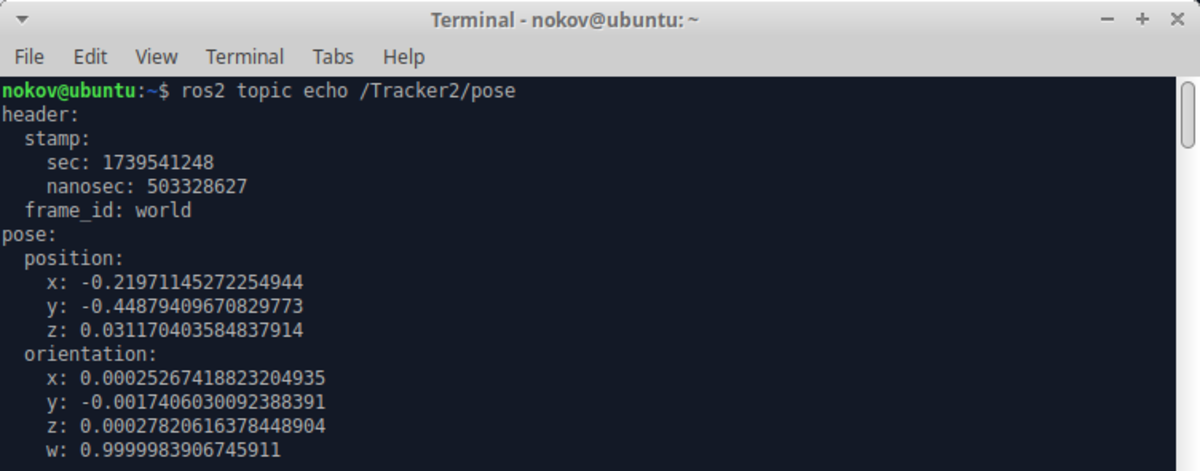
Print /Tracker2/pose Topic