(2) Calibration Preparation
- Click the drop-down list at the top of the main view, and select "2D View" from the list to switch the main view to 2D view. You can click "Show All Lenses" to display the imaging conditions of each lens, and you can see the reflection points and specks of each lens in real time. You can also cover or move the reflective marking points in the venue out of the venue.
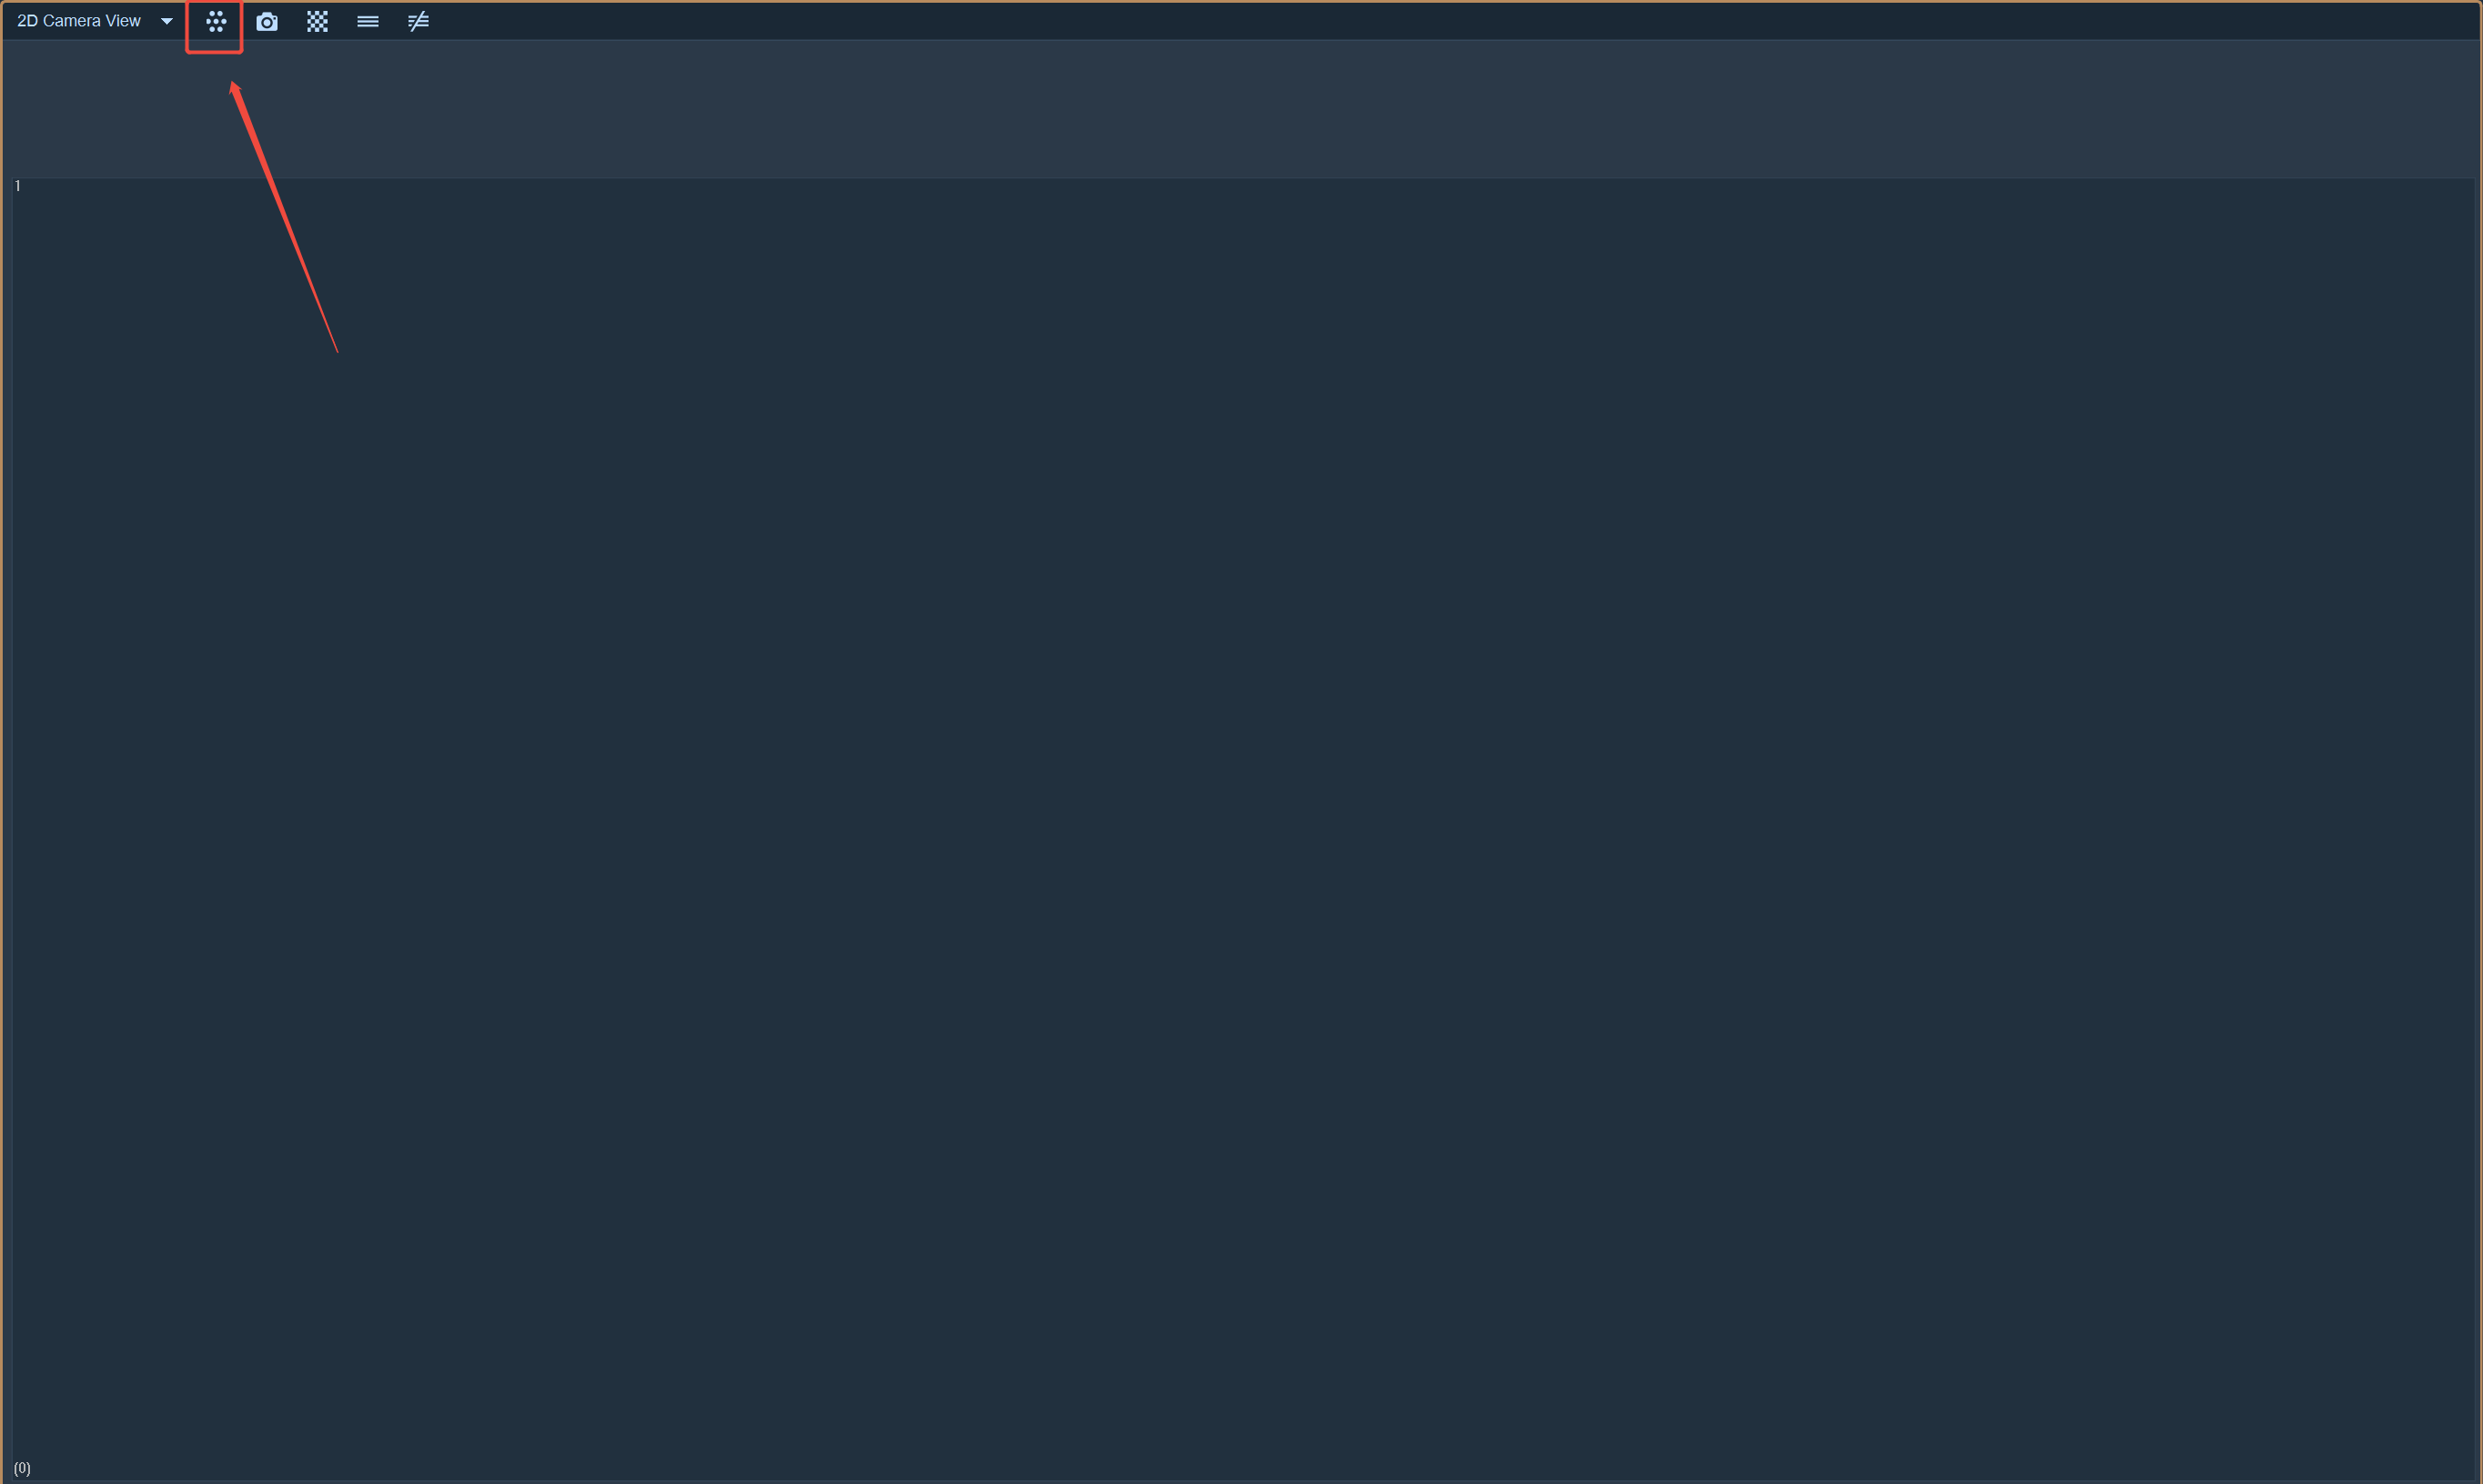
- In the 2D view, right-click and select "Display Grayscale Image" to open the grayscale image. You can also use the shortcut buttons in the toolbar at the top of the view to open the grayscale image of a specific lens;
- Prepare the L-shaped calibration rod and T-shaped calibration rod, and first place the L-shaped calibration rod at the position where you want to define the origin of the coordinate system;
.png)
.png)
-
By adjusting the pan-tilt, change the position of each lens. Usually, position the 4 Marker points on the L-shaped calibration rod at the lower-middle position of the lens (ensuring that each lens has a sufficient observation range in both horizontal and vertical directions). Alternatively, based on the actual activity range of the specific object being captured, place some reflective marking points at the edge of the required capture area to more intuitively reflect the area captured by the lens (by observing multiple edge points in the captured image, it can be seen that the actual capture range of each lens can be determined, thereby more accurately adjusting the lens to make the entire system have a larger and more stable capture range).
-
Lens adjustment:
- When the lens brightness is too low, the reflective marking points cannot be extracted. You can appropriately adjust the lens aperture to extract the reflective marking points in the 2D view. When the image is too bright, please reduce the lens aperture.
- When the lens image is not clear, slowly adjust the focus of the lens at a moderate speed until the image of the lens in the grayscale image is clear.
-
After adjusting all the lenses, observe each lens to ensure that in the 2D view of each lens, there are only the 4 points of the L-shaped calibration rod, and no other random points. The number in the parentheses on the lower left indicates the number of reflective marking points that the lens can capture.
-
Remove the miscellaneous elements in the scene. Common situations of such elements include:
- Sunlight exposure;
- Reflective surfaces of metal tables, chairs, shelves, and the floor;
- Reflective stickers/labels on clothes, shoes, hats, and jewelry;
- Reflective marker points scattered in the capture scene;
- The usual methods for removing these elements:
- Draw curtains to block sunlight;
- Remove reflective objects from the scene;
- Adjust the aperture of the lens;
- Adjust the threshold parameters of the device in the 2D view of the software (usually adjusted between 200 and 600);
- Adjust the brightness of the lens in the 2D view of the software;
- Use the software for Mask processing.
- Perform Mask processing
- Manual mode: Double-click the lens that needs processing in the 2D view to enlarge it into a single frame. Hold down the mouse scroll wheel in the "2D view" and drag to select the area with specks. The specks will be masked out. You can repeatedly select different areas until all the specks in the selected view are removed.
- Automatic mode: Click the "Automatic Masking" button in the toolbar at the top of the 2D view. All 2D points in the 2D view will be masked by the Mask. Click "Clear Masking" to delete all Masks. When using Clear Masking in a single view, it will only remove the Mask in the current view.
- For incorrect masking areas caused by accidental operation, if you want to delete a specific area within the selected mask, click the area with the left mouse button, then click the right mouse button.
- After completing the above operations, remove the L-shaped calibration rod from the site. The calibration personnel hold the T-shaped calibration rod and wave it in the site. Another person observes whether the number in the parentheses at the lower left corner of the 2D view is greater than 3. If so, it indicates that there are specks in the field of view of this lens. Please handle the specks according to the Mask description until the lens reaches the optimal calibration state.