(3) TL Calibration
T Calibration
-
Please read the calibration settings and calibration preparation chapters before conducting TL calibration.
-
Open the settings, select "Recording Settings", and switch to the black-and-white video mode. Open the calibration panel, select TL calibration on the panel, "Rod Length" represents the distance between the reflective marking points at both ends of the T-shaped rod used, input the number marked on the label of the T-shaped rod, "Duration" is the calibration time, usually 60-120 seconds. After setting is completed, click the T calibration button at the bottom of the panel. The swing operator holds the T-shaped calibration rod and repeatedly swings it in the capture area. When the camera captures valid data, the corresponding area will turn gray. Ensure that each camera has sufficient valid data volume, that is, as the data collection volume increases for each camera, the color will gradually deepen from light to dark.
.png)
-
The progress bar for T calibration gradually moves forward as the swing progresses. When the progress bar reaches 50%, the background color of the T calibration will change from orange-yellow to green. Swing the T-shaped pole and try to cover every corner visible to the camera. In all 2D views of the camera, at most three markers of the T-shaped pole should be visible (that is, the numbers in the lower left corner of all 2D views are all less than or equal to 3, and try to make as many camera numbers as possible equal to 3). During the T calibration process, the 2D interface displays the area swept by the calibration pole, and can display the available data volume and impurity conditions in real time. When the dialog box shows that the predetermined frame number has been reached, that is, when the progress bar reaches 100%, a calculation button will appear below the floating window, and click on it to start the calculation. The software will enter the calculation process. After the calculation is completed, the software will provide the calibration result (rated as poor/average/good/perfect. If the calibration result shows "poor", it is recommended to re-calibrate).
-
After the T calibration is completed, if there are reflective marking points in the field, the 3D view will reconstruct unnamed points, but at this time, the camera position and its coordinate system position are incorrect. L calibration is required.
L Calibration
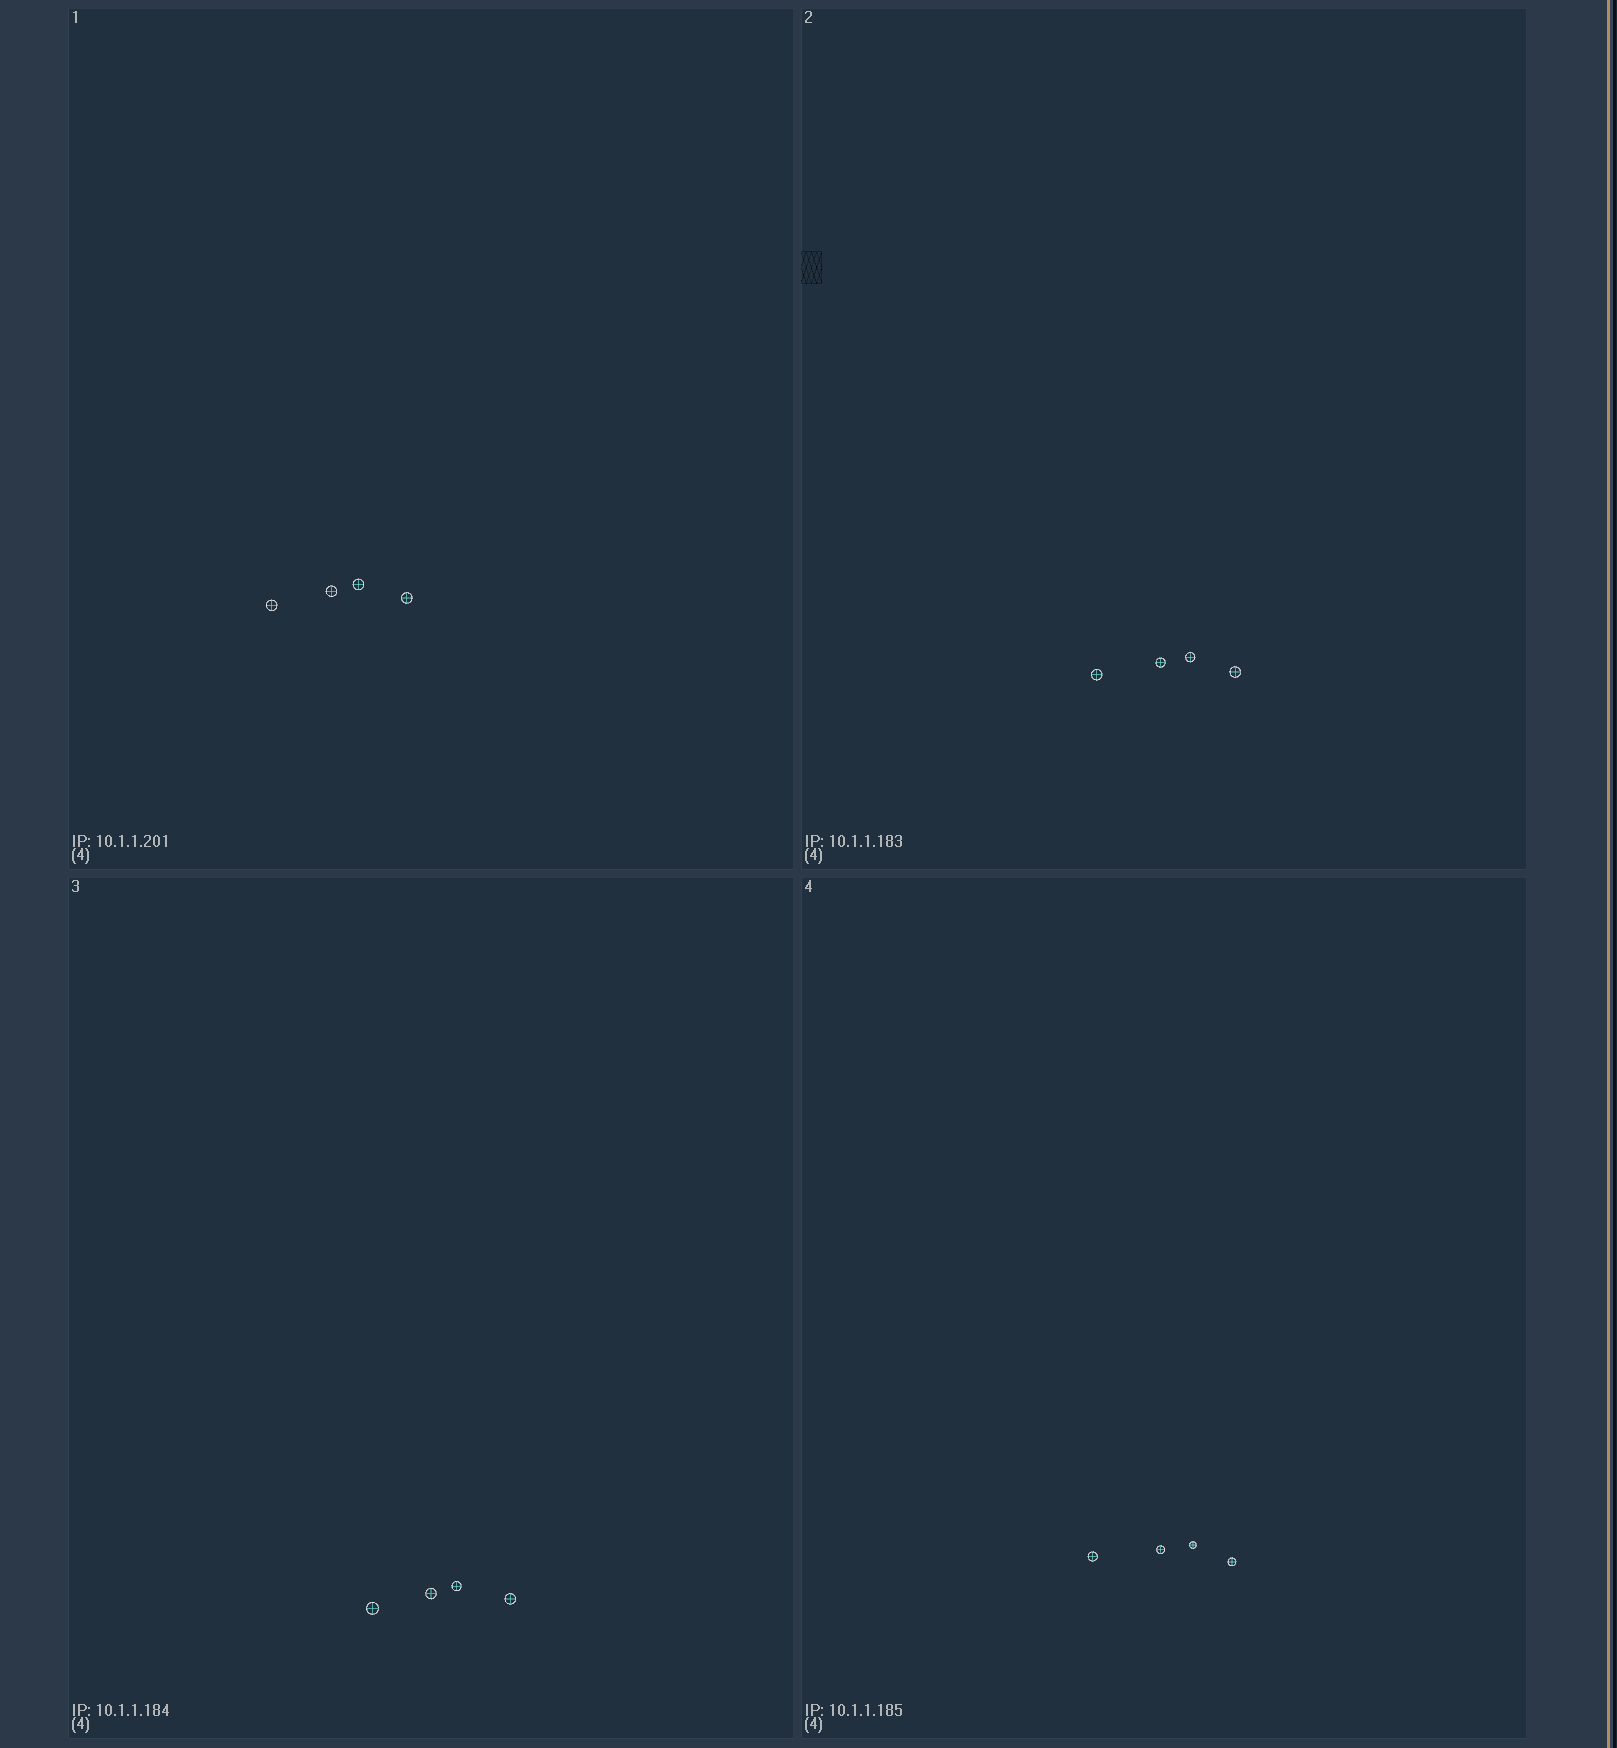
- Place the L calibration rod on the site. Switch to the 2D view and ensure that each camera can stably capture the four points on the L rod.
-
Place an L-shaped pole in the center of the area. Confirm the coordinate orientation (when the Z-axis is upward, the long side of the L-pole points in the positive X-axis direction, and the short side points in the positive Y-axis direction; when the Y-axis is upward, the long side of the L-pole points in the positive Z-axis direction, and the short side points in the positive X-axis direction). After confirming that the number of points in the lower left corner of the 3D view remains stable at 4, click the "L calibration" button at the bottom of the calibration panel. Once the L calibration is completed, save the calibration file and you can use the system normally.
-
In the black-and-white mode, place the reflective points in the area. The 3D view will then reconstruct 3D points. Switch the video mode to the color mode, have the model stand in the capture area, and the 22 Markerless human body Marker points will be displayed on the 3D view at this time. At this point, you can create a Markerless human body and start using the software.
.png)