(3) T calibration
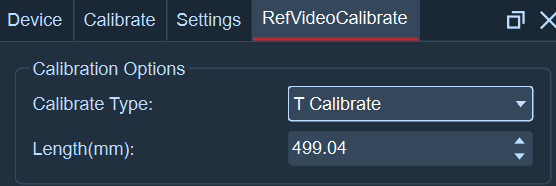
- After completing the "L calibration", in the reference video calibration panel, select the calibration type as "T calibration". In the rod length input box, enter the length of the T-type rod used for calibration this time. The length value will be pasted on the T-type calibration rod at the factory.
-
Click the "Start Calibration" button. The calibration personnel hold the T-shaped rod and stand still at a certain position, ensuring that the three points of the T-shaped rod can be clearly seen in each reference video view. Then, the operator clicks the "Freeze Frame" button. In each reference video view of the lens, click the three Marker balls on the T-shaped rod. After clicking, click the "Add Frame" button. After adding one frame of calibration data, the calibration personnel adjust their position again and follow the above operation to add sample frames until the calibration result is obtained. The calibration result is recommended to be "Good" or above. If the result is "Poor", we suggest you re-calibrate. During the calibration process, the panel will print the current calibration status and the number of added sample frames.
-
Switch the view to the 3D view. Have the model stand in the capture area. Make sure the "Markerless" switch in the software has been enabled. Then, 22 Marker points of the Markerless human body will be displayed on the 3D view. At this point, you can create the Markerless human body and start using the software.